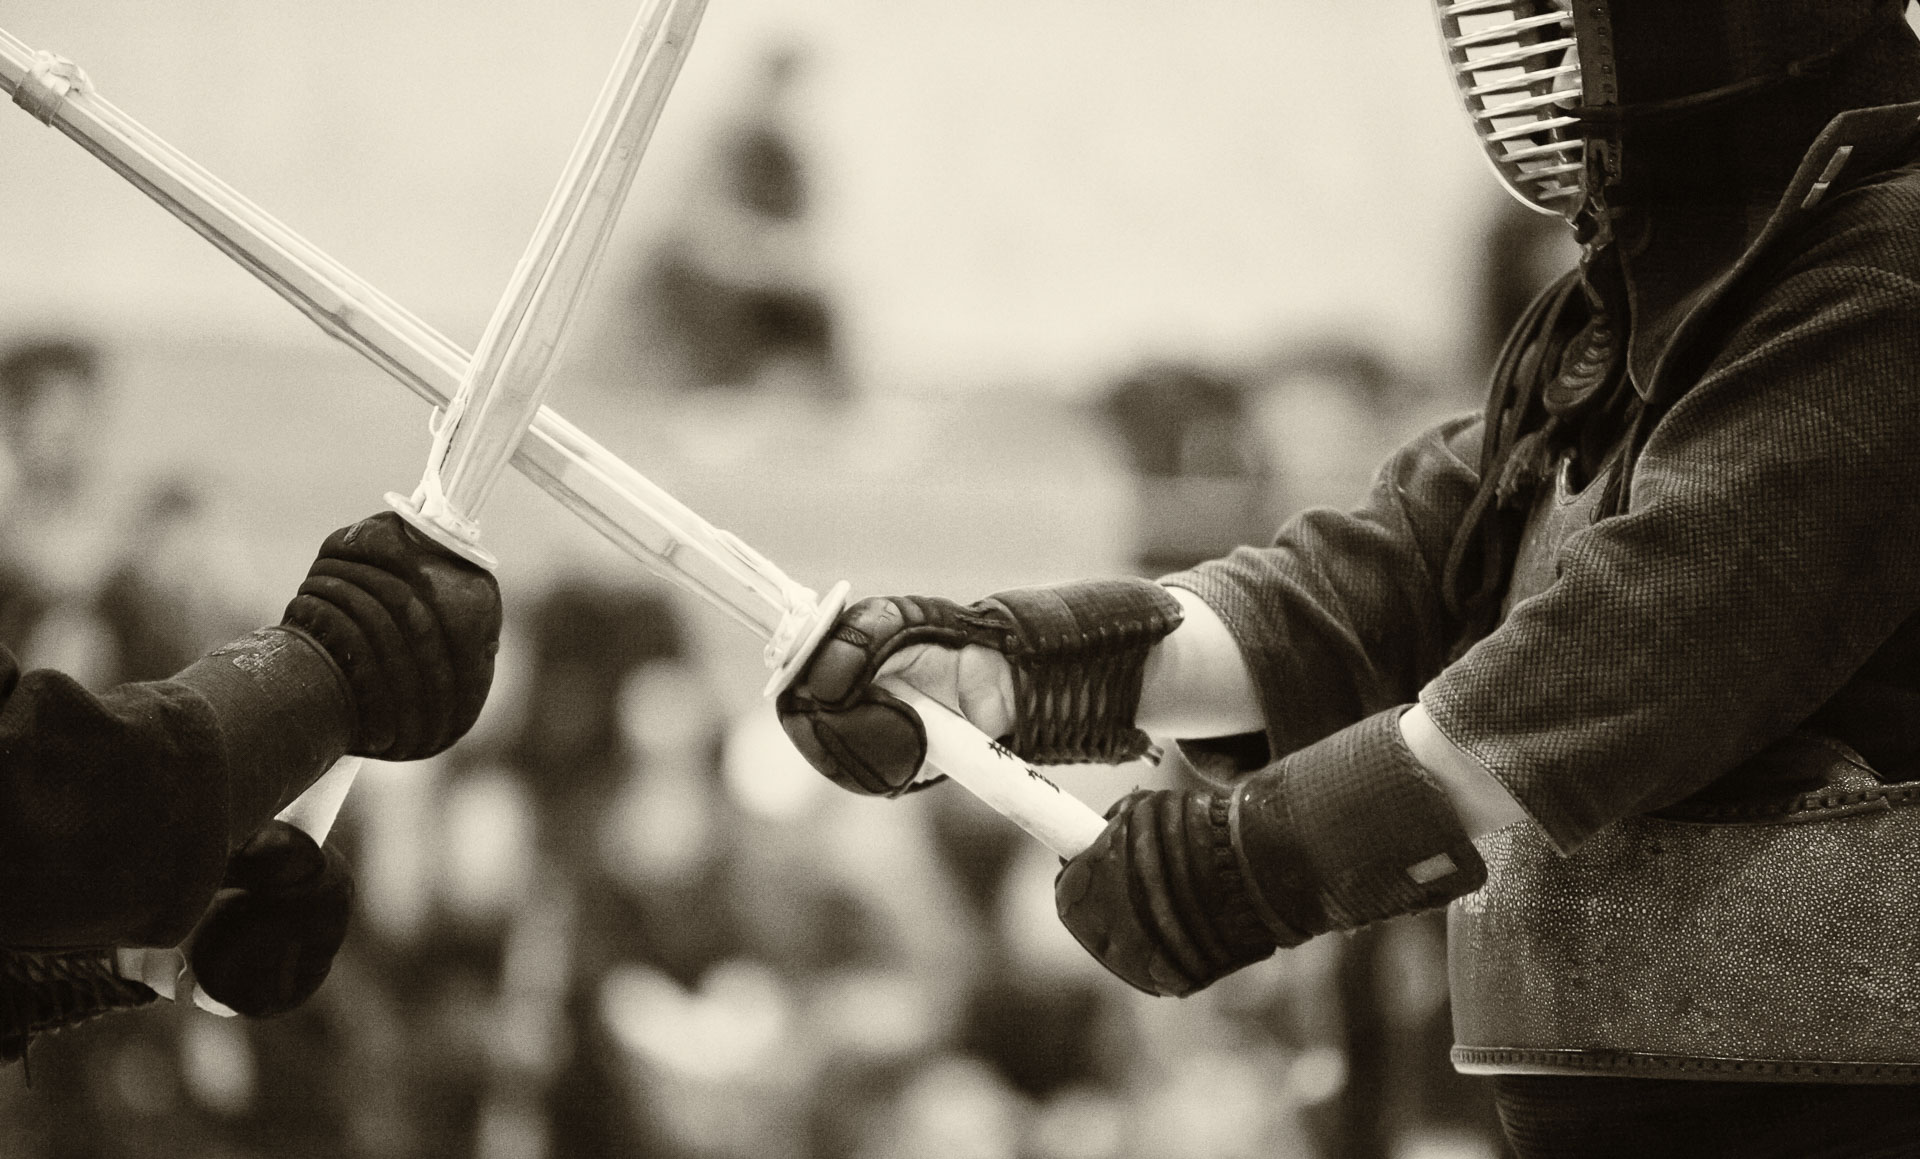
 Adjustment points in advanced editing software, such as Nick Collection, for example, can be very effective for applying certain effects, such as enhancing contrast or structural detail, to a localized part of the image. However, sometimes the algorithm becomes confused, and the effects spill outside of the intended areas. In my experience, this often adds unwanted grain and other artefacts to the nice background blur (bokeh) created by fast lenses (low f-numbers).
Here is a simple Photoshop workflow to preserve the bokeh while applying the effects to the subject:
1. Open the image in Photoshop.
2. Create a copy of the background layer. It will become the top layer.
3. Apply the desired effects to the top layer.
4. Create a layer mask for the top layer and fill it with black colour. This will hide the layer with the applied effects.
5. Using a brush tool and white colour, paint the areas that should show the applied effects on the layer mask. This will reveal the effects in the areas that are painted white.
6. Save changes and close the file.
I used the above procedure on this image of cherry blossoms on Moss Street in Victoria, BC. I applied Nick’s “tonal contrast” and “structure” filters to the flowers that are in focus, but left the blurred-out areas untouched.
