Feeding seals: timing the shot


Yesterday, we spent a warm and sunny Sunday morning playing at the Willows Beach and feeding seals at the Oak Bay marina. Our daughter has just recovered from a nasty virus that struck half of the children in her daycare group, and my wife and I were just coming down with the same virus – the vicious pattern familiar to many parents of young kids. The weather was beautiful, though, and we really enjoyed the unrushed time together.

At the marina, there are always 3-5 harbor seals waiting for tourists to feed them frozen fish, which can be bought at the souvenir shop for $2.50 per small plastic bag. According to the source that cannot be revealed (Snowden, eat your heart out!), this is, by far, the most popular item at the gift shop. The seals are wild, but they are well-trained in various ways of extorting the treats from people. For example, they appear to know the schedule of the tour buses, they can splash their fins on the surface to attract the crowd’s attention, and they always gather around the dock when a small child appears (as it was in our case).

While the little one was having fun throwing fish to the seals (the closest one got most of it) and my wife was keeping her from joining them in the water, I tried to bait the seals to grab the fish from the side of the dock, while pre-focusing my camera on the fish. I used a Canon EF 35mm f/1.4L USM lens on a Canon EOS-1D X camera body. High framing rate allowed me to get several shots each time a seal would come out to snatch the fish. The depth of field at f1.4 was so shallow that only the seal’s nose came out sharp. The image in this post is at f4.0. In the end, everyone was quite pleased, including the seals (I think).

Rugby: why gear needs to be weatherproof


It was clear that last Saturday afternoon’s Vikes vs. Ravens game was going to be a wet, rainy experience. I was going to grab a few quick shots and leave before getting soaked through, but I ended up staying until the end. Rain makes rugby photos interesting and, strangely, appealing. There is something about the muddy look that communicates the basic emotions of a rugby match particularly well.

For a few first minutes, I tried to balance two cameras and an umbrella tucked under the Y-strap on my shoulder, but soon left the umbrella, as it was too restricting. That’s why the gear needs to be weatherproof. I was a little worried about the Canon 5D Mark II, but it held up beautifully, along with the more rugged 1D X body and the lenses (a 300mm f/2.8L IS USM and a 70-200mm f/2.8L IS USM).


UVic graduation party: new workflow for a fun shoot


Yesterday, we were taking photos at the UVic graduation party. Technically, we finished shooting around 2 am today. Building on the experience of the last year’s photo shoot, we made several changes to the booth setup and the workflow.

For the booth, we used a white curtain highlighted with colored lights as the background. The colors probably could have been adjusted a bit, but we did not have time to play with different gels before the first groups of students started to arrive.

As far as the workflow, in addition to shooting at the booth, we set up a Macbook Pro connected to a 29-inch Thunderbolt display and two printers, so we could deliver the images on site. This was the major change compared to the last year.

Generally, everything went smoothly, thanks to the incredible help of our friends. Armando was shooting at the booth. I was transferring the images and helping the students with selection, emailing the files and printing. Mike was directing the queue and helping with posing the groups. Justin was processing the payments using our brand-new Square gadget on an iPad. Ilijc was shooting candid photos at the club. After shutting down the booth at about 1:30 am, Armando and I shot some more photos at the dance floor. Although all this sounds hectic, the whole experience was tremendously satisfying because of the energy of the crowd and the immediate feedback of joy and appreciation as the students saw their photos.

The day before the event, Armando, Justin and I met at Armando’s place to test the printing setup and the Square. In retrospect, we worried about printing too much – absolute majority of the students preferred digital files emailed to them. It seems that prints are becoming the thing of the past, at least for the student’s generation.


Photo schedule: conscious time management


All is ready for the Celebrations of Champions banquet tomorrow – the batteries are charged and the gear is packed. This is one of the key events in our relationship with Vikes as their official photographers, so I will be missing a kendo practice to attend it. It is so easy to start regretting that when you decide to do something, you automatically decide not to do something else. I have to remind myself that there is a fine line between simply being disciplined about attending keiko and doing so consciously (as opposed to the “autopilot mode” of simply following a habit). I wonder: was Miamoto Musashi a bit conflicted about not practicing kendo while he was doing his wood carving, sumo-e painting, etc.? Or was it all budo to him? Tomorrow, I choose to practice my photography.

Sports photography workflow: challenges of forming new habits

In the spirit of making the photos available online almost immediately, Armando and I decided to upload some of the photos to Flickr during the halftime of yesterday’s Whitecaps game, s that they would be available to the media coordinator. During the first half of the game, I shot approximately 1600 images. I took about 9 minutes to import them to Lightroom on a Macbook Pro using a Lexar USB 3.0 card reader. Since I only wanted to select 3 or 4 best images, theoretically, there was more than enough time to select and post them in the remaining 6 minutes of the halftime. However, I found that changing my habitual workflow of culling, or selecting the best images, was not easy. My usual “shotgun” approach is to go through all images in the gallery mode and give one star rating to those that appear to be interesting and technically acceptable (sharp and reasonably exposed). The problem is that what I deem interesting results in about 10% of all images, which means that I would need to look through them again (and sometimes a third time) to further down-select to a set of not merely “interesting” but hopefully unique and generally the best. Clearly, this two- or three-stage process is not time efficient when only 3 images are needed to begin with. The only logical conclusion is the one needs to relax the quality of the selection process, i.e. accept the fact that the selected 3 images (which, by the way, must be determined in a single pass) might not be the best of the entire set. Basically, the timing of delivery of the images must take priority over the quality of the delivered photos. This is difficult to come to terms with, because from the artistic standpoint, we are emotionally attached to the photos we’ve just taken and intuitively want to show off the best of them. Here, the professional side of being a photographer must come into play. What helps me rationalize the process is that I know that the “best” images are still there, waiting in the Lightroom catalogue, which I will have other opportunities to review, hopefully, without the time pressure.

Soccer: Keg’s Cup


I am finishing processing of the last weekend’s soccer game between Vikes and UBC in order to avoid a backlog next week with three major photo shoots planned. The first one is the Whitecaps game at BC place in Vancouver tomorrow. Armando and I were fortunate to obtain season media passes for Whitecaps games thanks to glowing references provided by Ali Lee of Vikes athletics. The first home game of 2014 against New York Red Bulls was an amazing experience from photography perspective. The speed, the acrobatic jumps, the post-goal celebrations, the energy of the crowd… The fact that the place was covered was also not the last on the list of pleasant surprises of the cold, rain-soaked day.

Another thing that I really look forward to is to try some compositing techniques I am learning from Phlearn tutorials. So many new things to try, so little time.

Muffins

Yesterday, I saw one of my idyllic images of the joys of parenthood materialized – my daughter was baking muffins with my wife. According to Pamela Druckerman’s “Bringing Up Bébé”, baking is supposed to be good for kids, as it teaches them methodical approach (measuring ingredients, etc.), patience (waiting for the thing to actually bake) and moderation (not eating the whole batch of muffins at once). As you can see from the pictures, success is a relative thing. Still, it was good fun.


Action photography: autofocus speed


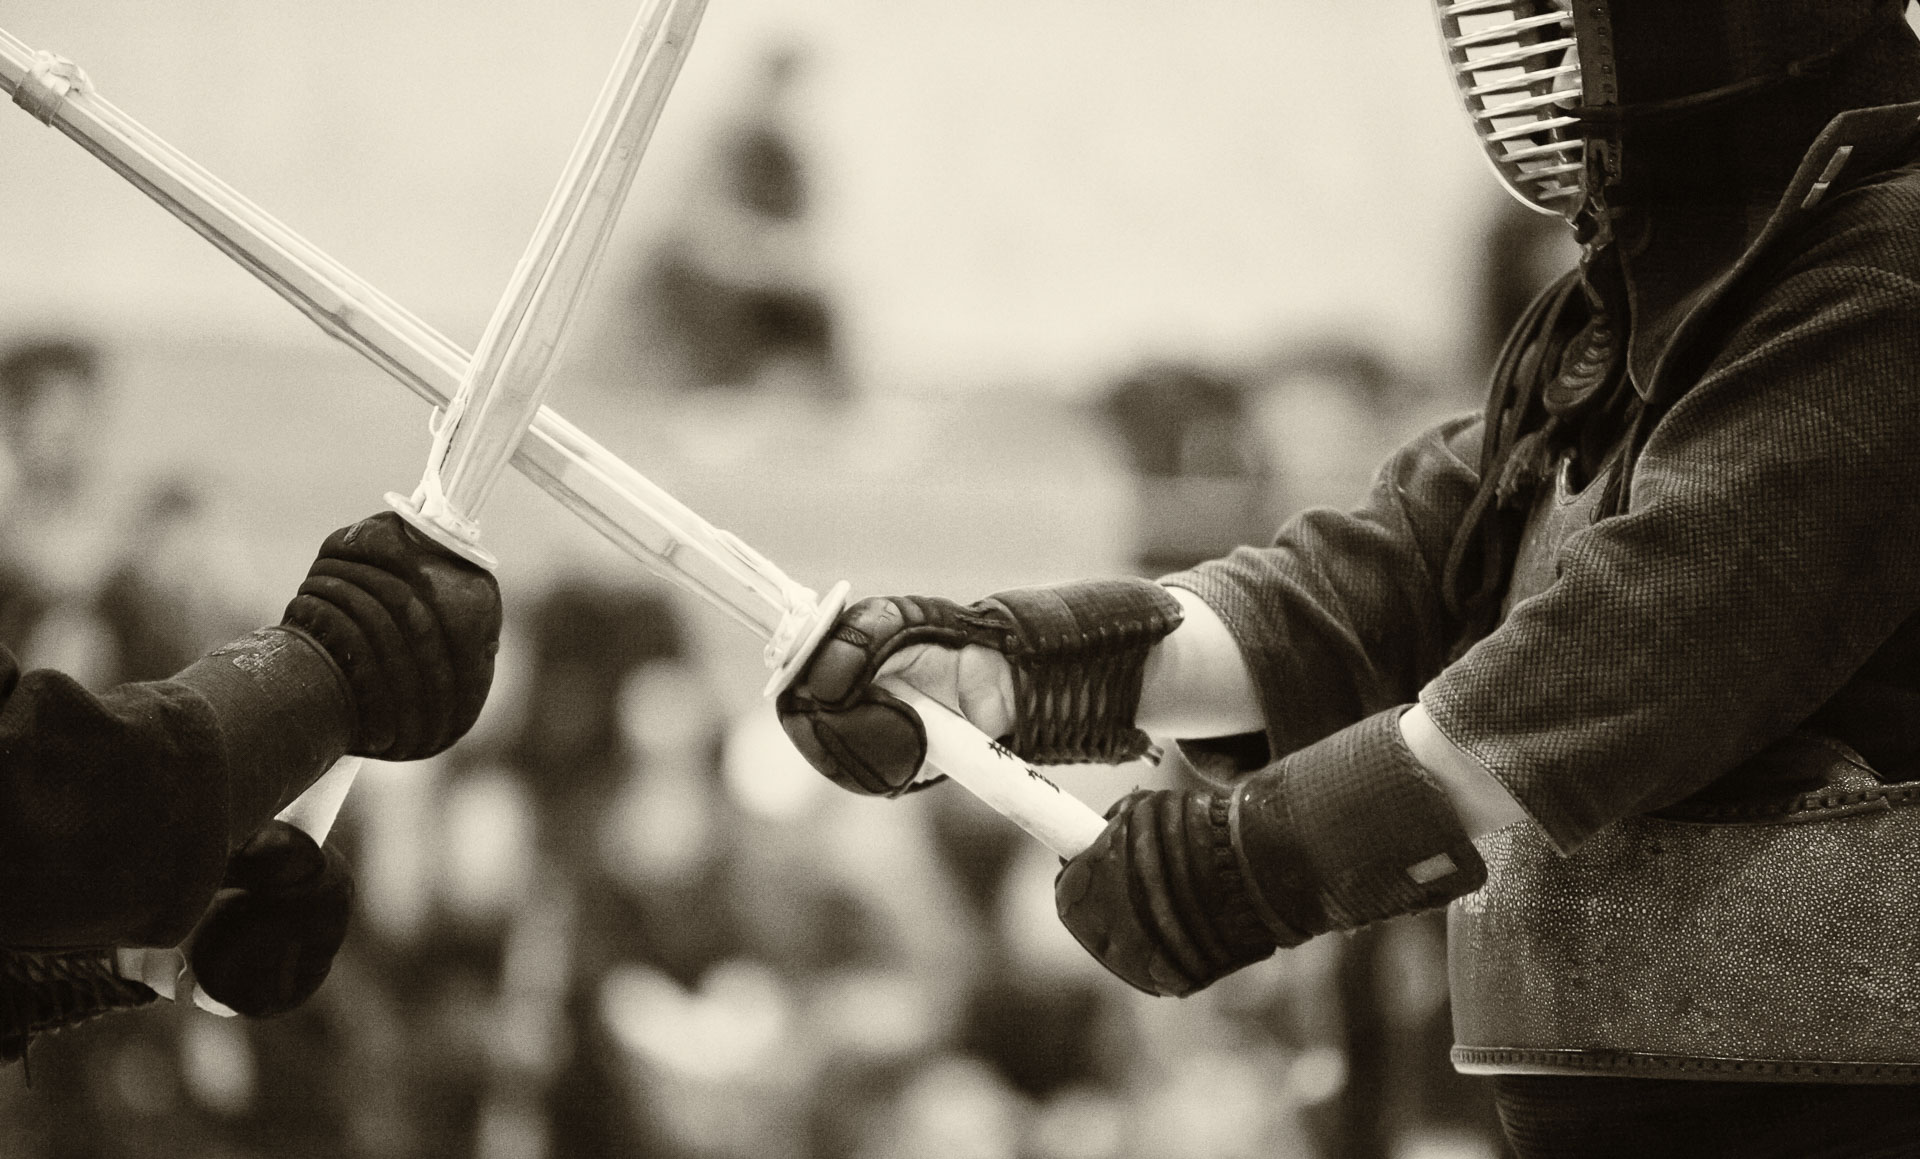
This is one of the first action shoots with my new Canon EOS-1D X. On February 8, I went to Steveston kendo taikai – the largest kendo tournament in North America. Being quickly eliminated from the tournament ladder myself provided opportunities for shooting. (One needs to find positive in everything, they say… One day, mind will prevail over matter… one day!) Needless to say, the autofocus speed was unbelievable, compared to a 5D Mark II, and so was low light performance. The focussing speed depends a lot on the lens, of course.

I borrowed a Canon EF 85mm f1.2L II USM lens for that day, but I already knew that it was very unforgiving. One really needs to practice following the subject and anticipating the action, and even then, some missed shots are expected. It’s all worth it, though, as the shallow depth of field of this lens is unmistakeable and very appealing.

For more examples of photos taken with a Canon EF 85mm f1.2L II USM lens see these galleries of a rock performance and an indoor rowing competition.

At the playground

Waiting for the ferry on the way to Whistler, I took a few shots of our daughter climbing about at a playground in her bulky but colourful whiter clothes. Trying to avoid the ordinary (read: “boring”) look of playground snapshots, I aimed for a very shallow depth of field (DOF) using a Canon EF 35mm f/1.4L USM lens. This lens has recently became my main walk-around lens, replacing a Canon EF 24-105mm f/4 L IS USM in this role. At first I was skeptical – I thought that if I would be limited to a single focal length, all photos from that shoot would look largely the same. However, I now think that shallow DOF provided by f 1.4 compensates for the absence of zoom, and the images actually look more interesting than those taken at f4. I am beginning to agree with a friend of mine, who said that if an image does not have a shallow DOF it does not look “special” (his background is in portrait photography; this does not apply apply to landscape, for example).

How to photograph (and be photographed in) a group portrait: on cooperation and interference

No wedding, reunion or other event that involves gathering of friends and relatives is complete without a group photo. Here are some thoughts on how to photograph and be photographed in such situation.

Tip #1: Avoid interference from other photographers.

If there is more than one photographer taking pictures of the group, it is helpful to communicate to everyone, who the main shooter is at any given time, so that everyone is looking in the right direction. Here is an example from a very fun and relaxed wedding photo shoot a couple of weeks ago. Armando and I were taking pictures at the same time, but we explicitly asked everyone in the group to look only at Armando, so that he would take a more traditional shot, while I would try to capture candid moments as they were setting up.

Tip #2: Make sure you can see the camera.

If you are standing/sitting/laying behind other people and cannot see the camera, you won’t show up in the picture. A careful photographer would notice this and ask you to re-position yourself.

Tip #3: Mind the dynamic range.

If the photo is taken outdoors, the first thing to do, as far as exposure is concerned, is to “get to neutral”, according to the excellent advice of Jim Harmer of Improve Photography. This means avoiding sharp shadows and highlights on the faces. Bring the entire group into the shade or, if that is not possible, have them face away from the sun. (yes, do shoot against the sun! … just try to avoid the lens flare – make sure that the front element of the lens is in the shade).

Tip #4: Mind the depth of field.

The depth of field in the group shot should be larger than that in an individual portrait (so that everyone is in focus, of course). It is also helpful if the group is not spread too much front-to-back.

Tip #5: Take several shots using continuous drive.

In case someone blinks, you would be able to photoshop them in from another frame.