Using highlight tone priority in a Canon DSLR

More photos here: http://ow.ly/DGvOp

Recording only JPEG images during a long photoshoot has many advantages over keeping the RAW images, but the main drawback is the loss of flexibility in adjusting the exposure in post-processing. When shooting RAW, even if the photo is incorrectly exposed, it is often salvageable in Photoshop or Lightroom. With the JPEG files, if the photo is over-exposed, the highlights cannot be recovered after the fact. I usually enable the highlight alert in my camera, so that any over-exposed areas in the photo appear as blinking white/black light when displayed on the LCD screen. By monitoring the highlights, I adjust the exposure as I shoot.

Sometimes, the dynamic range of the scene (the difference between the dark and the light areas) is too large for the camera too handle, so some loss of information in the recorded image is inevitable. This was the case during the first day of the Canadian University Rowing Championship last Saturday, when the bright sun was reflecting off the surface of the lake, and the rowers appeared as dark silhouettes. To minimize the over-exposed areas, some image processing can be done in camera, at the time of shooting.

In Canon DSLRs, such as my 1D X or the very popular Rebel T5i or 70D, there is a function called “highlight tone priority”, which accomplishes this. Nikon DSLRs have a counterpart called “active D lighting”.

Screenshot 2014-11-03 22.24.35

The highlight tone priority can be activated as follows (the instructions are also on page 156 of the 1Dx manual):

  • Press <MENU>;
  • Select the second tab in the Camera group of menus (see picture above);
  • Select [Highlight tome priority] and press <SET>;
  • Select [Enable} and press <SET>;
  • Take the picture.

As a side note, the JPEGs can still be adjusted, to a degree, in post-processing. For the rowing pictures, I used a combination of in-camera- and post-processing. The photos ended up being contrasty, but I think it generally works well for sports images.
More photos here: http://ow.ly/DGvOp

Photographing rowing from a boat

http://ow.ly/DItik

Today, I was shooting the second day of the Canadian University Rowing Championship at the Elk Lake. Armando and I were the official photographers of the event, so we had a dedicated boat that took one of us close to the racing boats (the other was shooting from the dock). Together with me in the boat was another photographer named Kevin, who is a former rower himself, and not just any rower, but no less than a national team member and a gold medalist. He has been shooting rowing for a while and had a very specific idea about types of shots he wanted to get, but a bit concerned about falling out of our little catamaran. The previous day, I was sharing a boat with another photographer, a young lady from Netherlands, so I knew that the boat was perfectly capable of carrying two photographers. I was also happy to learn more ways of making a series of rowing photos less boring – after all, rowing motion is very repeatable, which does not give a lot of variety of poses (although facial expressions of the athletes vary quite a bit!).

http://ow.ly/DItik

Over the course of several races, we refined a strategy that allowed us to capture a variety of shots. As the race started, we would wait at the side of the course at the half-distance mark. As the boats rowed past us, followed by the boats carrying the officials, then, we would cross into the middle lane and follow the rowers. Kevin and I positioned ourselves on both sides of the boat driver, shooting, literally, over both his shoulders. We both had Canon EOS-1D X cameras. I used a 300mm f/2.8L IS USM lens with a 1.4X tele-extender and Kevin had a 600mm f/4L IS II USM. The key point, which took us couple of runs to figure out, was to drive the boat between  and just behind the two official’s boats, but in front of the point where their wakes intersected. This way, we avoided most severe wave vibrations. Another note is that men’s 8+ boats were fast enough to actually outrun our motorboat, which was kind of cool to watch.

As the rowers approached the finish line, we would ask the driver to kill the engine and drifted to take the shots of the athletes celebrating their victories. Then, we followed them to the dock and took some shots of the coaches greeting them after a cool-down lap.

Later, I shot some moments of celebration by the winners from the dock. Most notable was the throwing of the coxswain in the water by his grateful teammates.

It was long weekend, but an interesting experience of learning the dynamics of the rowing race and following it from the athlete’s perspective.

http://ow.ly/DItik

Advantages of shooting in JPEG format

AA5Q7277_10-25-2014.jpg

I usually take photos in RAW format to keep the ability to adjust exposure in post-processing. Having the large RAW files is particularly important for recovering over-exposed highlights.

However, having just completed a two-day photoshoot of a rowing regatta and two soccer games, I can definitely see the advantages of shooting JPEGs. I shot the rowing photos in RAW and the soccer ones as JPEGs as an experiment. Here are some advantaged of the JPEGs over RAW:

  • Obviously, the JPEGs take up much less disk space. This is particularly important in the case of sports photography, where I typically use a high-speed drive mode of the camera. My Canon EOS-1D X can shoot at 12 frames per second, which adds up to a couple of thousands of images per soccer game with my style of shooting (and I am trying to be selective and not to keep the shutter button pressed all the time!)
  • I can give some of the photos to the communication officer at the halftime without having to record two copies of the images (RAW+JPEG) or to switch file formats during the shoot.
  • Perhaps most importantly, large previews are generated much faster in Lightroom, which saves time during culling (selecting the images for publishing) and post-processing.
  • Finally, the JPEGs produced by modern DSLRs are very good. The noise is reasonably controlled while preserving sharpness, and the exposure is easy to monitor during shooting (by checking the histogram on the camera LCD screen) to make sure no excessive corrections would be needed in post-processing.

AA5Q0729_10-26-2014.jpg

Being engaged in the action: difference between professional and amateur photographers

Rock!

The main difference between sports, travel and event photographs shot by professionals and amateurs is the degree of involvement of the photographer in the action. When I started taking photographs of festivals, sporting events and people in the streets, my subconscious desire was to be a “fly on the wall.” I wanted to convey in my photographs a sense of the action without disturbing the participants or being engaged in the event myself. As I kept shooting this way, my technical skills grew, but it became apparent that it was the non-participant’s mindset that was limiting my progress.

Gradually, I became more comfortable becoming more actively engaged in the action that I was shooting. Part of this is just technique. For example, it is often taught that in order to take better photos of playing children, the photographer needs to get to their level – lay on the floor or on the ground. However, a large part of this approach is mental attitude. If you enjoy the event itself, this notion will be conveyed in the photos, and the way to enjoy the action is to be genuinely interested in it and to interact with the other participants.

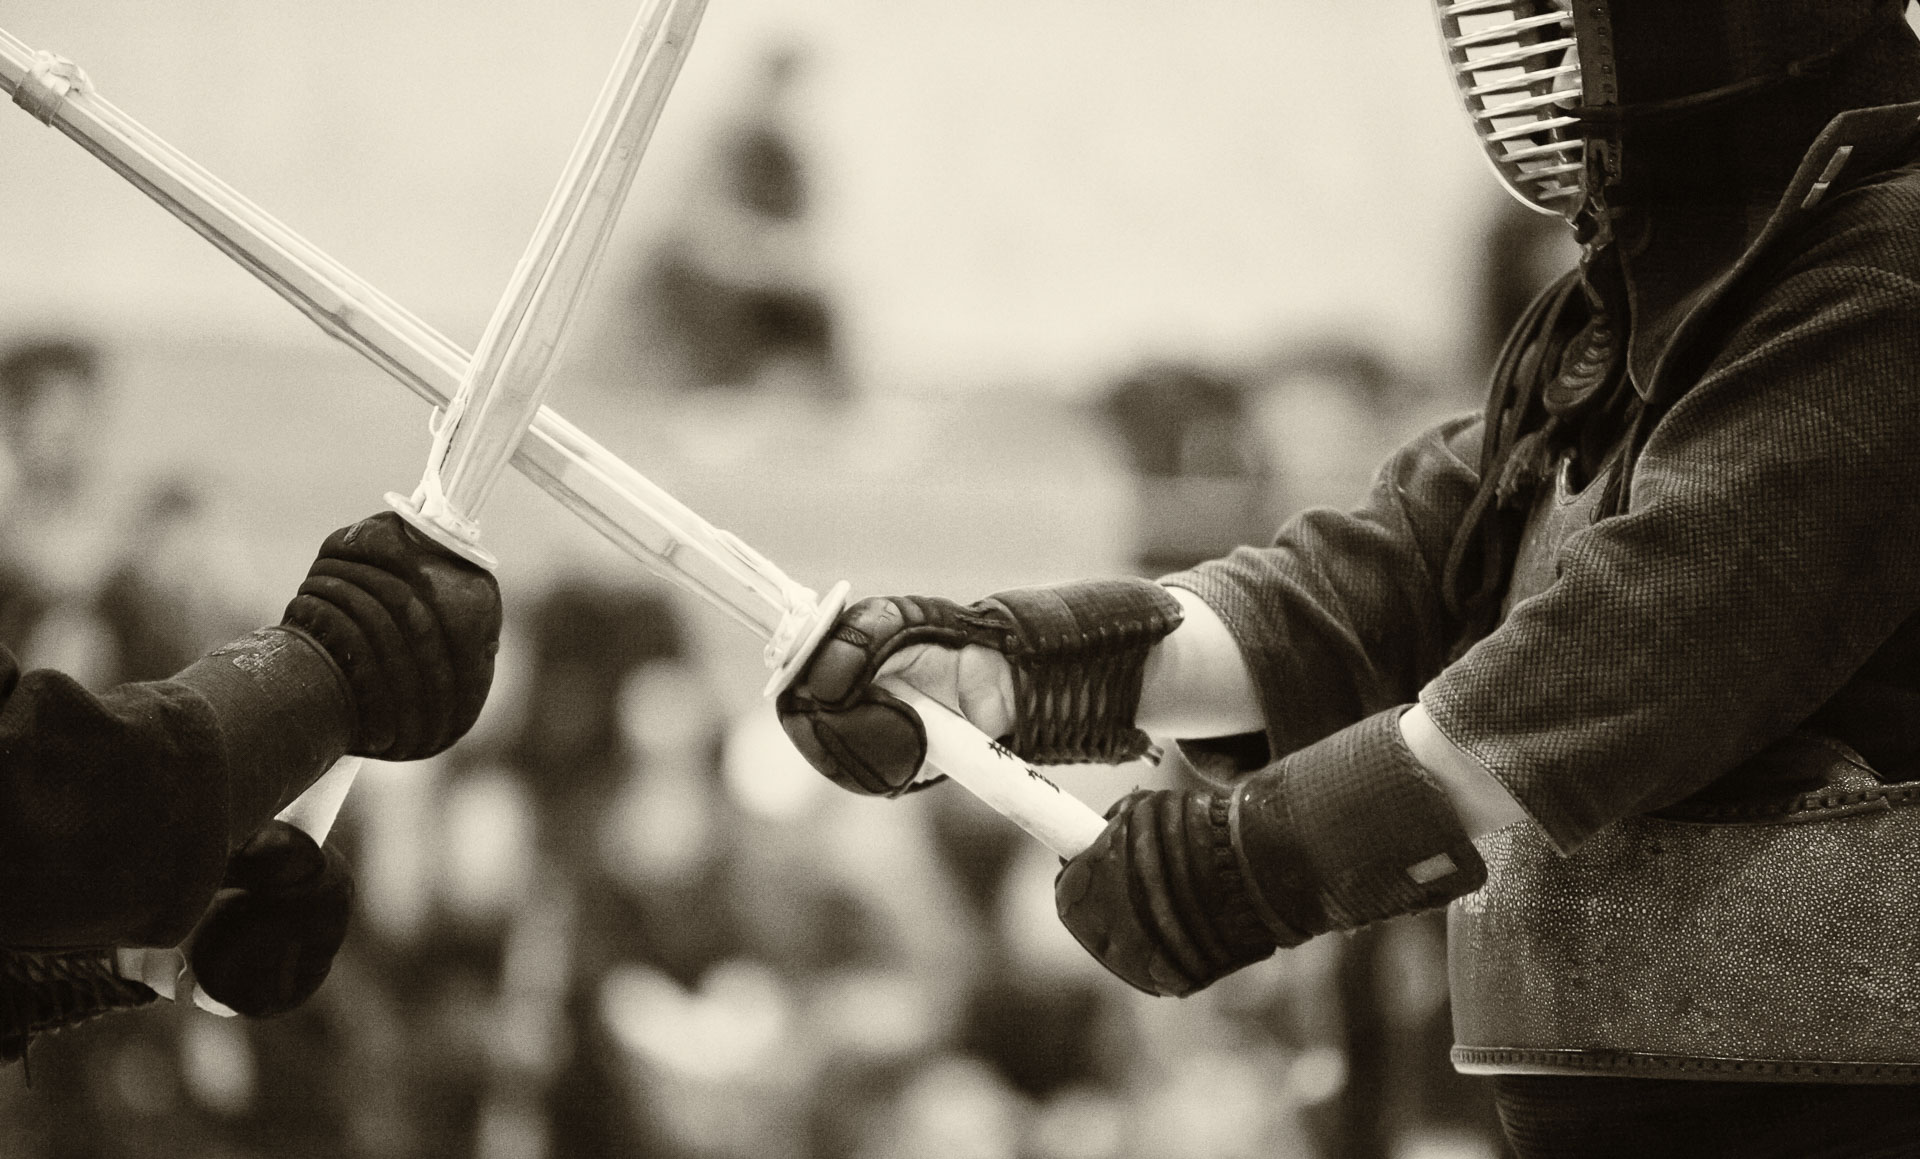
This active approach to photography, which distinguishes professionals from many amateurs, is a skill, and as such, it require practice to develop. (I hesitate to say “to master”, because from my experience in kendo, I have yet to see a limit to a particular skill that would qualify as “mastery” – there is always room for improvement.)
More photos on Flickr: http://ow.ly/xvxoDComplete set: http://ow.ly/xvxro

So what does it take in practical terms to take photos that convey engagement with the subject?

  • First, it means getting close to the subject. This implies genuine interaction, often with eye contact. There is no way to fake it.
  • Second, I take my best photos when I know the subject well. Again, this means genuine interest.
  • I try to take opportunities to shoot in difficult conditions in terms of weather or lighting. Doing so conveys willingness to share the challenging conditions with the participants of the game, event, etc.
  • To shoot in challenging conditions, I use professional-level gear (Canon EOS-1D X camera and L-series lenses, for example, a rugged and “fast” Canon EF 70-200mm f/2.8L IS USM).
  • Finally, there is a real advantage of actually being a professional. A media pass to an official event provides access to shooting positions and locations that are simply not accessible to the general public. So, what to do if you are attending an event as a spectator? Shoot what you can most easily relate to – other spectators, the setting,… convey the sense of your experience. And get to know the players/actors/organizers – this can lead to getting your own media pass for the next time!

AA5Q9249_10-04-2014.jpg

Selecting autofocus point for soccer photography

AA5Q9966_10-25-2014.jpg

My default autofocus point selection for shooting sports is the central one, because it is the most precise sensor that is able to detect contrast gradients in the horizontal, vertical, and diagonal directions (I am using a Canon EOS-1D X, but this applies to any DSLR, since the central autofocus point is typically the most precise one, regardless of the specific technology).

When shooting soccer games, I sometimes switch to the bottom point to capture the moment when the players jump to receive a high-flying ball with their heads. When I anticipate such moment, for example, when a goalie kicks the ball into the field, I quickly switch the autofocus sensor to the bottom one. I have the sensor selection assigned to the joystick on the back of the 1D X, and one neat feature of this control assignment (which is customizable in this camera) is that pressing down on the centre of the joystick returns the focus selector to the previously used position. I also assign separate default sensors to the landscape and the portrait orientation of the camera (my default for the vertical orientation is the bottom sensor to capture the jumps).

On the other hand, when the action comes closer, I switch to the top autofocus point to focus on the faces of the players.
AA5Q1133_10-26-2014.jpg

Close-quarters shooting using a fisheye lens

untitledAA5Q6565_09-26-14.jpg

As a part of collaborative research of hybrid-powered ships, my colleagues and I recently visited the first diesel-electric vessel in the BC Ferries fleet, M.V. Tachek, which operates between Quadra Island and Cortes Island. I new that we would have an opportunity to visit the machine compartment, among other areas that are normally restricted to passengers, so I wanted to photograph them to document the site visit and to promote this research project on the web.

I expected to shoot in a highly-confined environment with poor lighting, so I packed my Canon EOS-1D X DSLR, which has remarkable low-light performance, and fast lenses (35mm f/1.4L USM for extremely low light and 16-35mm f/2.8L USM for extremely tight quarters).

untitledAA5Q6441_09-26-14.jpg

Also, Armando lended me his Canon EF 15mm f/2.8 Fisheye lens, pointing out that it would be better for photographing people than the 16-35mm f/2.8L. He was absolutely right. Of course, the fisheye creates a lot of distortion, but this distortion is of a different kind, compared to that of a rectilinear lens, such as the 16-35mm f/2.8L. Since a rectilinear lens is designed to preserve straightness of straight lines, objects near the edge of the frame appear to be stretched and enlarged, which is not flattering to human faces. On the other hand, a fisheye lens covers the 180° field of view by reducing the scale of objects towards the edge of the frame. It also does not preserve straight lines, but since a human face does not contain many straight lines, this is typically not a problem.

As it turned out, the machine compartment of the Tachek was more spacious than I thought, but the fisheye lens produced fun images with a unique perspective.

untitledAA5Q6720_09-26-14.jpg

Here are some tips for using a fisheye lens:

  • Compose a portrait so that the face of the subject is located close to the middle of the frame to minimize distortion.
  • If there is a horizon line, place it so that it crosses the centre of the frame – this way, it will not be distorted.
  • In many situations, such as sports or other action, for example, it is a good idea to switch the lens to manual focus and manually focus just short of infinity. Because ultra-wide angle lenses have huge depth of field, compared to normal or telephoto lenses at the same f-numbers, almost everything in the frame is going to be in focus all the time, regardless of there the focussing point of the camera points to. Turning off autofocus can maximize the framing rate, particularly in low light situations.

Best walkaround lens for a Canon DSLR

PO-IMG_5810_06-15-13-Edit.jpg


When Canon 5D Mark II  came out, the camera was available as a kit, bundled with a 24-105mm f/4L IS USM lens. I really liked the lens, and for a long time, it was my favourite walkaround lens – something than can work in most everyday situations. I shot landscapes, street travel photos and family portraits with it.

The problem is that while the 24-105mm f/4L works well for almost everything, it is also not particularly spectacular in any given situation. It is, basically, a compromise, albeit a very good one.

The wide end of the zoom range (24 mm) is not wide enough for creating really unusual perspective of confined spaces and wrapping the view around corners, which works well for closeups of architectural details (the Canon EF 16-35mm f/2.8L II USM or the Canon EF 8-15mm f/4L Fisheye USM are better for these types of shots). The 104 mm focal distance is also not long enough for compressing perspective and isolating far-away details of landscapes (the Canon EF 70-200mm f/2.8L II IS USM is better for this, although it is quite a bit more expensive).

Also, the maximum aperture of f4 is Ok, but not fantastic in terms of bokeh and simply does not gather enough light for indoor sports or concert photography.

PO-IMG_5623_06-13-13-Edit.jpg


Currently, my favourite walkaround lens is Canon EF 35mm f/1.4L USM. (The photos in this post are taken with this lens.) It may seem less flexible than the 24-105mm f/4L, but in reality, it is not so. I find the 35 mm focal lens ideal for portraits and street photos. I need to get very close to the subjects for an interesting composition, though. The sharpness is superb. The wide aperture allows shooting in near darkness with a modern DSLR and produces very pleasing bokeh and subject isolation.

There are a few challenges, of course. The fixed focal length (lack of zoom) means less flexibility with composition. To complicate this aspect further, if you are shooting wide open, at f1.4 (and why wouldn’t you? After all, this is the main feature of this lens!), the depth of field is so shallow that you cannot half-press the stutter button to focus on the subject and then re-compose the shot, as slightest change in the angle of the camera after focus has been obtained will cause a blurry image. It took me quite a while to get used to, but with practice, getting close to the subjects, placing a focus marker exactly on the subject’s front eye and not re-composing became second nature.

AA5Q3222_10-11-2014.jpg


The super-wide maximum aperture is really the key feature, and not only for light-gathering capacity, but mostly for the incredibly shallow depth of field it produces. The ability to isolate the subject in almost any situation is what often makes the difference between an artistic photo and a snapshot. I really appreciated it during our recent trip to Disneyland.

Basically, the 35mm f/1.4L makes no compromises, and is unforgiving because of this. But for the same reason, it can produce unique images.

Shooting field hockey: best lens and camera position

More photos here: http://ow.ly/CEMyg


I was taking photos of our university’s women’s field hockey game last two weekends, and as an experiment, I shot each of them with a different lens.

Shooting field hockey is challenging for couple of reasons. First, the field is relatively small and it is enclosed by a fence, so on one hand, the action can come very close to the camera very quickly, and on the other hand, it is difficult to isolate the players from the background if they are at the opposite end of the field from the camera.

The second challenge is that the players are crouched down while fighting to control the ball, so if the light is harsh, as the daytime sunlight often is, the players’ faces are covered by deep shadows.

Third, the colour of the artificial turf is bright green, which creates an unpleasant cast on the faces of the players, as they bend down, looking at the ball.

The first challenge of the wide range of distances from the action can be overcome by using an appropriate lens. I shot my first game of this season with a Canon EF 70-200mm f/2.8L IS USM. I has a good zoom range, which is great to have when the action is close, it focuses very fast and it is relatively light. I had the lens mounted on a Canon EOS-1D X and carried it on a Y-strap. It was so easy to handle that I was convinced that if I had a single lens to choose, the 70-200mm f/2.8L would be it. Its only drawback is insufficient focal length for far-away shots, such as action at the opposite end of the field and close-up shots of the players celebrating the goals.

More photos here: http://ow.ly/CEDsM


The next game, one week later, I shot with a Canon EF 300mm f/2.8L IS USM lens, and the success rate of interesting shots was much higher than I expected. In fact, I had to revise my opinion on what would be a single go-to lens for field hockey. The 300mm f/2.8L is at least a very close contender, if not the winner of that title, in my opinion. There are a couple of disadvantages of this lens: fixed focal length and weight. Both are manageable, though. The challenges in composing shots due to the absence of zoom can be overcome with practice. It took me about one season of shooting to become comfortable with the 300mm. I must add that I am deeply grateful to Armando, who gave me a free run of using his lens, for making this experience possible. The weight of the lens is also not prohibitive for using it hand-held. More importantly, I believe the interesting shots 300mm f/2.8L produces are worth the inconveniences.

To handle the lighting, I think the best angles with respect to the sun are either direct light, where the sun is behind the camera, or backlight, where the sun is behind the subject. The direct light is a bit flat, but produces bright, saturated colours of the players’ uniforms. The backlight produces low contrast and saturation, but creates very pleasant rim light effect on the hair of the players.

Note: The artificial turf is soaked with water before each game, so when its surface is struck with a stick, or even with players feet, a spare of small water droplets is produced. To capture it, a fast shutter speed (minimum of 1/1000 sec) works best. Also, the spray looks very nice when backlit.