Headshots using window light

AA5Q1186_07-08-2014-Edit.jpg
I am planning to take headshots of colleagues from the Mathematics department for their website. My wife, who works there, and I met for lunch and explored possible locations and settings for the photo shoot.

The math building has huge windows that spans the entire wall facing the courtyard. Since the shoot will happen during daytime, I want to use this window as the main light source for the photos. Since the window is very large compared to the subject (a statistically-average math professor), the lighting that the window casts on the subject is very “soft”, i.e. the transitions between the light and the shadows are very gradual, which is typically flattering to the above-mentioned math prof (or any typical human being, for that matter.) I will use a white plastic card sticking out from an on-camera flash to create a catchlight in the subject’s eyes. This also has an added benefit of slightly filling in the shadows on the side of the face opposite from the window. Combining flash with window light is not an issue from colour-matching standpoint, since the flash is daylight-balanced.

I plan to use the Canon EF 70-200mm f/2.8L IS II USM lens on a Canon EOS-1D X body. The longer the focal length, the less prominent the protruding facial features (read: nose) appear in the photo, which, again, makes the statistically-average math professor appear more photogenic and more closely approaching the unrealistic standard of human beauty perpetuated by professional models.

I plan to shoot wide open, at f/2.8, or maybe slightly stopped down in order to blur the background, which will be just the interior of the mathematics building. I do not want to set up a paper or fabric background, since there are several alternatives offered by the interior itself: an abstract, brightly-colored mural (the window would provide a frontal light in this case – the easiest setup), a grey-coloured staircase receding into the distance (subject facing sideways from the window – the best background colour and most artistic lighting) or the exterior courtyard (subject facing mostly away from the window – nice edge light in this case, but a lot of fill-in flash required, which is not ideal.) I am curious to find out which background/lighting combination would be most popular among the math professors.
AA5Q0944_07-08-2014.jpg

Easter egg hunt

AA5Q2037_04-04-2015.jpg

Photographing children is often more challenging than shooting sports, because the clildren’s action is more unpredictable. For today’s Easter egg hunt with two three-year-olds, I used a Canon EF 70-200mm f/2.8L IS II USM lens lens on a 1D X body. I wanted to keep the aperture wide open for background isolation, so I had to reduce the shutter speed to about 1/1000 sec to avoid over-exposure. Also, I tried to position myself so I would shoot against the light.

Leading the children by playing with them in such a way that they would be well-positioned with respect to the camera makes a huge difference in child photography. This leading has to be done by someone other than the photographer. My wife is very experienced in this role, as she knows what angles and types of shots would work well for the pictures. As a result, my favourite pictures from today’s outing are of her playing with the kids.

AA5Q2157_04-04-2015.jpg

Focal length and autofocus speed

AA5Q9419_02-27-2015.jpg

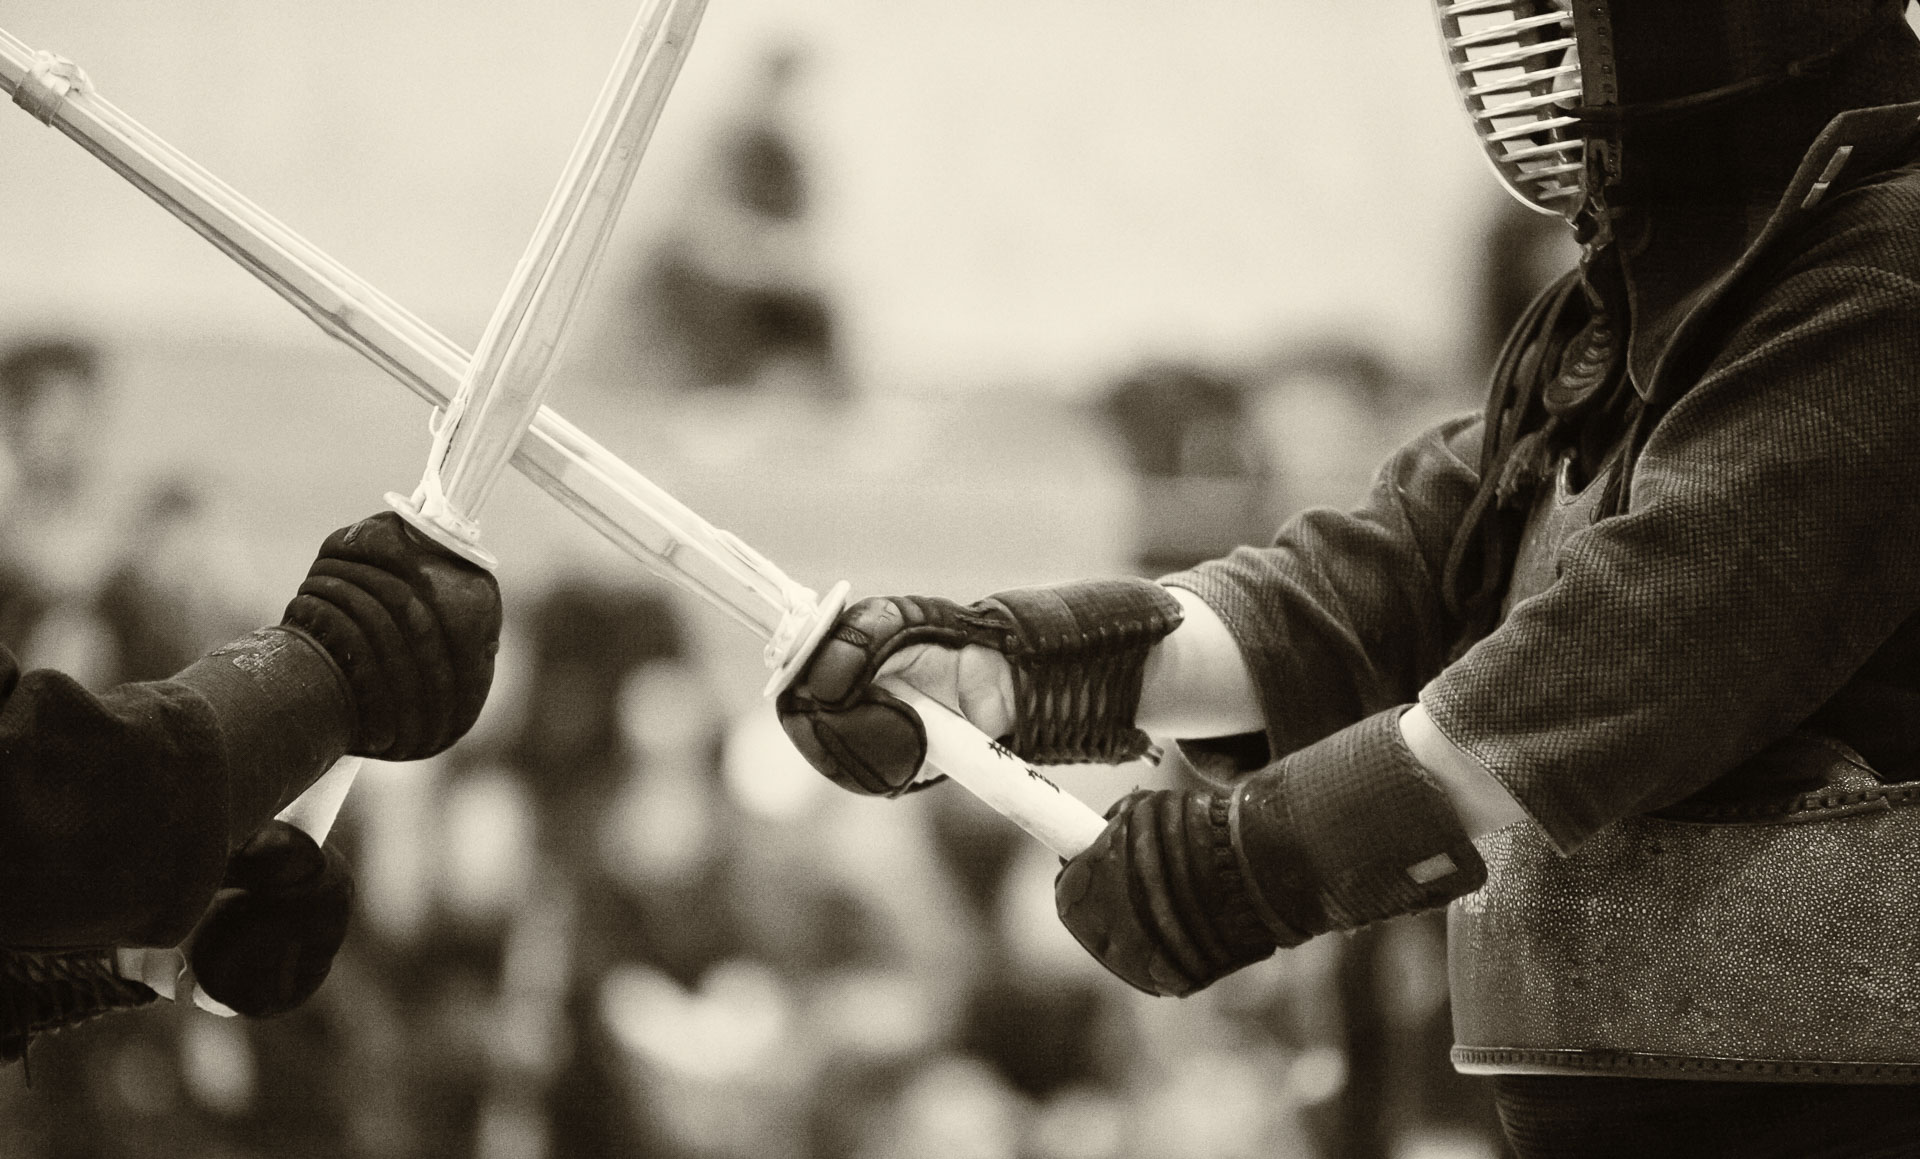
A fast lens, such as Canon’s 85mm f1.2L II USM, can do wonders in terms of improving noise levels in indoor sports photos. When shooting wide open, at f/1.2, I can regularly use the shutter speed of about 1/800 sec and an ISO of 8000 in very dim light during basketball games or kendo events. For comparison, the same shutter speed at f/2.8 pushes the ISO to 16500 or even 25000. For a Canon EOS-1D X camera body, this increase in the ISO means a step from minimal noise levels to those that require dedicated post-processing.

The problem with the 85mm f1.2L II USM lens is that it focusses very slowly. Its optical elements are so massive that even thought the camera’s autofocus system sends correct commands, it takes considerable time for the motors to physically move the glass into position. The 70-200mm f/2.8L IS II USM lens, on the other hand, focusses lightning-fast, particularly if the subject is shot from farther away, at the focal length of 200 mm (compared to 85 mm.)

The advantage of shooting from far away using a longer focal length is that an equivalent motion of the subject causes smaller apparent displacement on the sensor of the camera (think about the classical example of an airplane appearing to move very slowly when viewed from far away, while a bicyclist at 1 m away shooting through your field of view in a fraction of a second.) Because the apparent displacement is small, the optics has to be only slightly adjusted to track the subject.

The bottom line is that a longer but slower (higher minimum f-number) lens will produce noisier images, but will yield a higher success rate in terms of the number of sharp images. Therefore, for a critical photo shoot, I would start with the 70-200mm f/2.8L IS II USM lens, and after making sure that I have captured a few sharp images, I would switch to the 85mm f1.2L II USM to potentially get one or two spectacular ones.

More photos here: https://flic.kr/s/aHsk92gBmH

Walk-around lens

AA5Q0375_03-22-2015-Edit.jpg

I decided to follow an example of Alex Ogle, a street reportage photographer who was featured in October 2014 episode of “Pro Photographer, Cheap Camera,” to carry only one lens, namely a 35mm f/1.4L USM, for a family walk in a garden.

The absence of zoom is both limiting and liberating, as no mental energy is wasted on decision-making related to the focal length. Otherwise, the main feature of this lens that distinguishes it from cheaper, consumer-grade lenses is the very wide maximum aperture and excellent sharpness even when fully-opened (at f/1.4). This time, I was shooting in broad daylight, so there was no need to use the lens’s excellent light-gathering ability, but I still wanted to shoot wide open, to produce the subject isolation by blurring the background. To achieve the correct exposure, I had to decrease the shutter speed to 1/1000 s, which had a bonus effect of minimizing camera shake.

The main challenge with shooting at f/1.4 is that a common technique of pre-focussing by half-pressing the shutter button, recomposing and then shooting does not work due to the extremely shallow depth of field. Recomposing would shift the sensor plane sufficiently for the subject to become out-of-focus. Instead, the focus sensor has to be placed precisely on the subject (the front eye, in case of a portrait.) I usually crop the images in post-processing to improve composition.

In my opinion, the results of shooting with a 35mm f/1.4L USM are well worth practicing the shooting technique. The shallow depth of field immediately separates a photo taken with this lens from a mere snapshot.

AA5Q0412_03-22-2015.jpg

Fitness for photography

IMG_7554_07-05-13-Edit.jpg

Some types of photography require the photographer to be physically fit, to a certain degree. Shooting extreme sports, such as rock climbing, for example, naturally requires one to be proficient enough in the sport in order to be able to keep up with the athletes (if they are climbing in the actual mountains and not in a gym, where a photographer does not have to do any climbing.) Underwater photography is another obvious example, where physical ability is crucial.

However, even in less obvious situations, such as travel, street or action photography, physical fitness is a definite asset. Endurance, in particular, enables one to cover larger distances on foot, carry more gear and minimize camera shake while hand-holding heavy “fast” lenses. There many ways, of course, to compensate for the lack of strength or endurance, for example, by using some form of transportation, carrying less or lighter gear, shooting from a tripod, etc. (BTW, in my experience, a carbon fibre tripod is a must for travel use.) Over time, however, there would be certain situations where lack of endurance would result in missed shots.

I have recently heard an interview with Kelly Starrett, a trainer of high-profile athletes a the author of “Becoming a Supple Leopard.” He mentioned that the key element in improving endurance and physical mobility in general is to improve one’s posture. According to him, there are several fundamental postures and basic movements that are common in many types of activities (e.g. standing, squatting, etc.) Training to improve (or correct) these postures allows one to utilize the skeleton, rather than muscles, to absorb most of the stress of the motion (or lack thereof. )

Following this advice, I try to be conscious of my posture while hand-holding a 300mm f/2.8L IS lens during a soccer game or shooting from a sitting position at the side of a basketball court.

AA5Q5970_08-12-2014.jpg

Tools of the trade

5DM2_MG_5575_11-01-12-Edit.jpg

Over the last couple of months, I have been repeatedly encountering some very insightful comments and writings by Kevin Kelly, one of the founders of “Wired” magazine, and the author of “Cool Tools,” among other neat books. Recently, he commented on the value of finding one’s own “trade” – a skill set that enables some useful and universally-applicable contribution to society. This skill would be tradable for money or other means to support living in any part of the world. In other words, the personal “trade” is the core skill behind one’s occupation.

Finding and cultivating this skill set is inherently difficult and can (and probably should) take the entire lifetime. I think that perhaps examining the tools that we use in everyday life can give an indication of what our personal trade is or could be (at this particular time, anyway).

The problem with this analysis is that we do many things. I my case, for example, the activities range from teaching and research to photography, calligraphy and kendo. Each area has its own tools, which often change in line with technology. Some patterns stand out, though. Most of the tolls that I have been using consistently since elementary school have something to do with either visual or written communication – books, pens and pencils, brushes and paints, photo cameras. I wonder if this general tool set is an indication of what my particular “trade skill” is or simply has to do with how the modern society functions, communication being at the foundation of most human activities.

IMG_2373 - 2015-03-14 at 19-03-36-Edit.jpg

Does photography have to be expensive?

AA5Q9947_04-19-2014.jpg

Photography is generally viewed as an expensive hobby, the primary expense being the cost of the equipment. For professional photographers, both full- and part-time, this is an even more important concern, because their gear has to represent the state-of-the-art for the photos to have a chance for being competitive in the very crowded market. The initial expense of entering into photography is there reason that there exists the whole industry that supports (or is supported by, depending on your point of view) by both pro and amateur photographers. The high cost of the hobby is also one of the main reasons why amateurs want to explore photography as a business.

It can be argued, however, that if photography is considered as an art, then using it as a vehicle for self-expression should not be limited by the technology involved (and, consequently, by the cost of hardware). Many authors share the view that an artist can create an image using either a brush or a blade of grass. In the context of photography, perhaps, the analogy would be to use a pinhole camera instead of a DSLR.

I think that, unfortunately, this argument only applies to pure art, with no applied aspect (commercial or scientific, for example.) In order to be competitive either in business of photography or in its scientific application, using state-of-the-art technology is a must. Even from a purely artistic perspective, if, hypothetically, the cost is not an issue, why wouldn’t we consider pushing the limits of high-speed motion, low-light conditions, harsh environment, microscopic scale, etc. that the technology allows us to explore? In reality, cost is always an issue. I have to deal with financial constraints both when setting up budgets for new research projects in our lab (we do use high-speed photography in our fluid mechanics research) and when choosing what gear to use for my photo shoots.

Not all types of photography are equally expensive, but action and sports photography, which is what I do most often these days, certainly is. Incidentally, here is a nearly ideal (and very expensive) combination of Canon cameras and lenses that my friend and associate has been using for soccer matches:

AA5Q1832_10-04-2014.jpg

Action photography: zooming in

AA5Q0040_10-25-2014.jpg

One of the most interesting aspects of sports photography is the ability to show the action up close. I think this is the reason the photos taken with long telephoto lenses generally produce most appealing shots. I wrote earlier about my favourite lenses for shooting indoor basketball. Recently, I have been preferring longer lenses, because they provide a point of view that a spectator cannot replicate from the bleachers. This gives the photos instant “interestingness.”

For tomorrow’s kendo tournament, I am going to shoot mostly with the Canon EF 70-200mm f/2.8L IS II USM lens lens and will try to zoom in as close as possible on the players, even if that would mean cropping out parts of their body. Because of my interest in kendo techniques, I of then try to capture the elements of footwork, body position, etc., which add nothing to the artistic aspects of the photos. Tomorrow, my plan is to shoot less images than I usually do, but when shooting, focussing on the art (photography) rather than the martial art.

More photos on Flickr: http://ow.ly/xvxoDComplete set: http://ow.ly/xvxro

First-order access

5DM2_MG_0039_04-26-12-Edit.jpg

There are many online and printed resources for organizing tools for any project and decluttering your home, but I find one concept, used by the host of the “MythBusters” show Adam Savage, very important. It is referred to as first-order access and basically means not storing anything behind anything else. In other words, anything in a workshop, a kitchen, an office, a library or a photo studio should be within direct reach and not hidden or obstructed by other stuff.

I find this principle particularly important during a photo shoot. Often, situations arise that force me to deviate from the original plan for the shoot. Having all my gear neatly organized, so that any lens, flash or cable can be accessed directly, without having to unload other items from the camera bag is very important. It allows me to use unforeseen challenges as opportunities to try new creative techniques, instead of spending valuable time on searching for gear.

I should mention that it is equally (and perhaps more) important not to have too much stuff in the first place, which, of course, is the basic principle of decluttering. Having too many choices of photo gear that can potentially be used to take a given shot robs you creative energy that is best applied to making decisions regarding lighting, composition, posing and other creative elements of the photo. Not specifically related to photography, “It’s All Too Much” by Peter Walsh is a highly-regarded reference on organization.

In general, when problems arise, it is important to come up with a constructive solution on the spot. It may not be the optimal solution, but the immediate timing of offering a solution cultivates the mindset of treating setbacks into learning experiences, instead of reasons for complaining.

5DM2_MG_5575_11-01-12-Edit-Edit.jpg

Light modifiers: a matter of size

PO-IMG_4540_04-04-13.jpg

The main parameter in choosing light modifiers (soft boxes or umbrellas, for example) for studio strbes is the size of the modifiers. Generally for portraits, the larger the modifiers, the better. The main function of soft boxes and umbrellas is to change a small light source into a large one. This creates soft, gradual transitions between the light and dark areas on the subject, which is aesthetically pleasing for most portraits (or course, there are situations, when the rules are broken intentionally to create impact, but that is another story). In my opinion, the more the light source resembles natural window light, the better. This concerns the size of the light source, its position (height relative to the subject) and its colour temperature.

There is not a huge difference between brand name and generic soft boxes and umbrellas in terms of the quality of light, so I think it is safe to use cheaper modifiers without sacrificing the quality of the resulting photo.

A disadvantage of very large soft boxes or umbrellas is that they are very cumbersome to use outdoors. They are, essentially, sails that catch every slightest gust of wind and tend to topple over, unless the stands are weighted down with sand bags. For an outdoor shoot, I use Speedlites, preferably off-camera, triggered by a PocketWizard radio triggers.

I found that getting started with studio lights is a bit intimidating, because of the many changes in the workflow, compared to a natural light setting. The best way to start is to assist someone who knows what he/she is doing and later copy the basic setup (there is nothing complicated about it, after all). The lighting principles themselves are actually quite straightforward, and another way to approach studio lighting is to read a  book, such as “Light It, Shoot It, Retouch It.”

5DM2_MG_9075_03-10-12-Edit.jpg