Flow

AA5Q2467_02-15-2015.jpg

Consistency and routine are important for developing various skills, from photography to martial arts to research and teaching. However, I think that without some sense of excitement and the resulting enthusiasm, consistency alone is not effective. In fact, what is ultimately effective and satisfying is the state of “flow”, when self-censoring mode of thinking is turned off and we can “get out of our own way”, so to speak. This condition has a lot in common with the elusive state of “no mind” (mushin) that martial artists are striving to attain.

I have recently came across a reference to a book by Steven Kotler called “The Rise of Superman,” which discusses the role of flow states in human performance. It is interesting that the sense of excitement is an important component of flow. When we do something that we like, something that we closely relate to, we feel as if we are doing the activity (taking photos, painting a picture, training in kendo, reading a research paper, teaching a class, etc.) for the first time. When this feeling is combined with the expertise developed through years of consistent practice, the resulting confidence allows us to trust the flow and to stop continuously cheating and editing our actions – to step out of our own way.

To me personally, the flow states are just glimpses of what is ultimately possible – they are not easy to either achieve or sustain. However, these moments are precious and powerful enough to help me maintain motivation and consistency in what I do.

AA5Q1651_02-14-2015.jpg

Contre-jour

AA5Q2566_02-15-2015.jpg

Shooting with the lens pointed into the light source (contre-jour), which produces backlighting of the subject is very effective when the light source is the bright sun. Contre-jour is an alternative to front lighting, which can be extremely contrasty (image above).

Today, during and afternoon soccer game, the bright sun produced a huge dynamic range, which was way beyond the capabilities of a DSLR. To experiment with different lighting, I shot half of the game with frontal lighting and the second half – with backlighting (image below). As expected, the latter images were generally more interesting. I particularly like the edge lighting effect, which is mostly noticeable along the hairlines of the players. By the way, a side note for image conscious soccer players – the photographic appeal of an action portrait is directly proportional to the length of the hairdo.

Shooting against the sun doesn’t solve the problem of the large dynamic range, it just distributes the light (or rather the shadow) uniformly across the subject. The contrast is reduced dramatically, but can be partially recovered in post-processing. Lack of contrast also makes the focus more difficult to achieve; I missed more shots due to autofocus failure than I expected. Overall, my preference for shooting sports in bright sunlight would still be centre-jour, even just for the aesthetics of the edge light.

AA5Q3881_02-15-2015.jpg

Shooting position for rugby: following the action

More photos here: http://ow.ly/F89kW

When shooting rugby or soccer, sometimes I stay behind a goal line instead of following the action along the sideline. Besides laziness, there is actually a couple of legitimately good reasons for doing so. The action of these sports looks good from the goal line position – the players face the camera as they run towards the goal. Being stationary also allows me to find a comfortable, low-angle position to shoot from.

On the other hand, following the action along a sideline (when it is allowed, which is not the case at MLS soccer games, for example) provides more opportunities to shoot close-ups of the players and also offers more variety of the action.

This past Saturday was unusually cold for Victoria. In fact, it snowed the night before. Although I dressed for the weather for our university’s rugby game, moving around instead of sitting in one place seemed like a good idea. I wrote before that I usually carry my Canon EOS-1D X with a 300mm f/2.8L IS USM lens on a Black Rapid Y-strap, but this time, I attached the lens to a monopod, which was extended to a height that allowed me to shoot from a standing position. Normally, a lower shooting position, such as standing on one knee, is preferable for sports, but I was willing to sacrifice it for extra mobility (no need to fiddle with the monopod – just set it on the ground, point and shoot). I attached the lens collar directly to the monopod, without a ball head. To frame the shots, I simply tilted the entire monopod. I kept the collar loosely closed around the lens, which allows me to quickly rotate the camera to a vertical shot position.

My associate Armando was shooting the same game from the goal-line, low position using a Canon EF 500mm f/4L IS USM lens on a Canon EOS 7D Mark II body. With the crop sensor, this combination gave him a very long effective focal lens, allowing to shoot closeups of the action from the opposite side of the pitch. Also, low camera position was excellent for capturing the flying pieces of mud being kicked up by the players.

Between our two shooting positions and different focal lengths used, we captured a good variety of shots from the game.

More photos here: http://ow.ly/F89kW

Shooting mode for action photography: Aperture priority vs Manual

AA5Q9948_04-19-2014.jpg

When photographing fast action, such as sports or dance, I usually concentrate on two technical aspects – capturing the expression of the motion and isolating the subject from the surroundings.

To show motion in a still photo, I typically try to freeze it, i.e. to shoot with sufficiently fast shutter speed, so that the athletes appear sharp, but their poses and facial expressions convey movement and emotion.

An alternative to freezing the motion is to blur it, with a slow shutter speed, so that the moving subject is smudged, while the surroundings are sharp. Blurring the motion is particularly effective when combined with a flash that illuminates the subject just before the camera shutter closes, freezing that phase of the movement (so called back-curtain sync).

Yet another approach is panning, when the camera follows the moving subject, and the image is taken with a shutter speed that is short enough to freeze the motion, but long enough to blur the background. This technique requires a lot of practice, and the success rate is typically very low. Also, it can only be applied in situations when the subject is moving more or less parallel to the sensor of the camera. If the subject is moving towards or away from the camera, it cannot be followed by swinging the lens around.

To isolate the subject from the background, I shoot with a fast lens, such as Canon EF 300mm f/2.8L IS USM or Canon EF 35mm f/1.4L USM, wide open, so the background is blurred because of the shallow depth of field.

PO-IMG_1460_12-07-13.jpg

To freeze the motion and blur the background, I need to control both the shutter speed and the aperture at the same time. Before upgrading my camera to Canon EOS-1D X, I used to shoot sports in aperture priority mode. I would select the maximum aperture (lowest f-number) and a sufficiently high ISO value, so that the camera would choose a fast shutter speed. Occasionally, the shutter speed would drop too low, and the image would end up blurry.

With a 1D X, I shoot in manual mode, where I set both the aperture and the shutter speed. I let the camera select the ISO by setting it to “A” (auto). This way, the only aspect that is left up to the camera is the amount of noise in the photo. I find that even if ISO ends up being very high (the selectable range can be specified in the camera settings – see page 13 of the 1Dx manual), the 1D X controls the noise very well. Besides, the noise can be controlled in post-processing to some degree.

Photographing kendo: artistic imaging vs reportage approach

AA5Q9337_02-08-2014.jpg

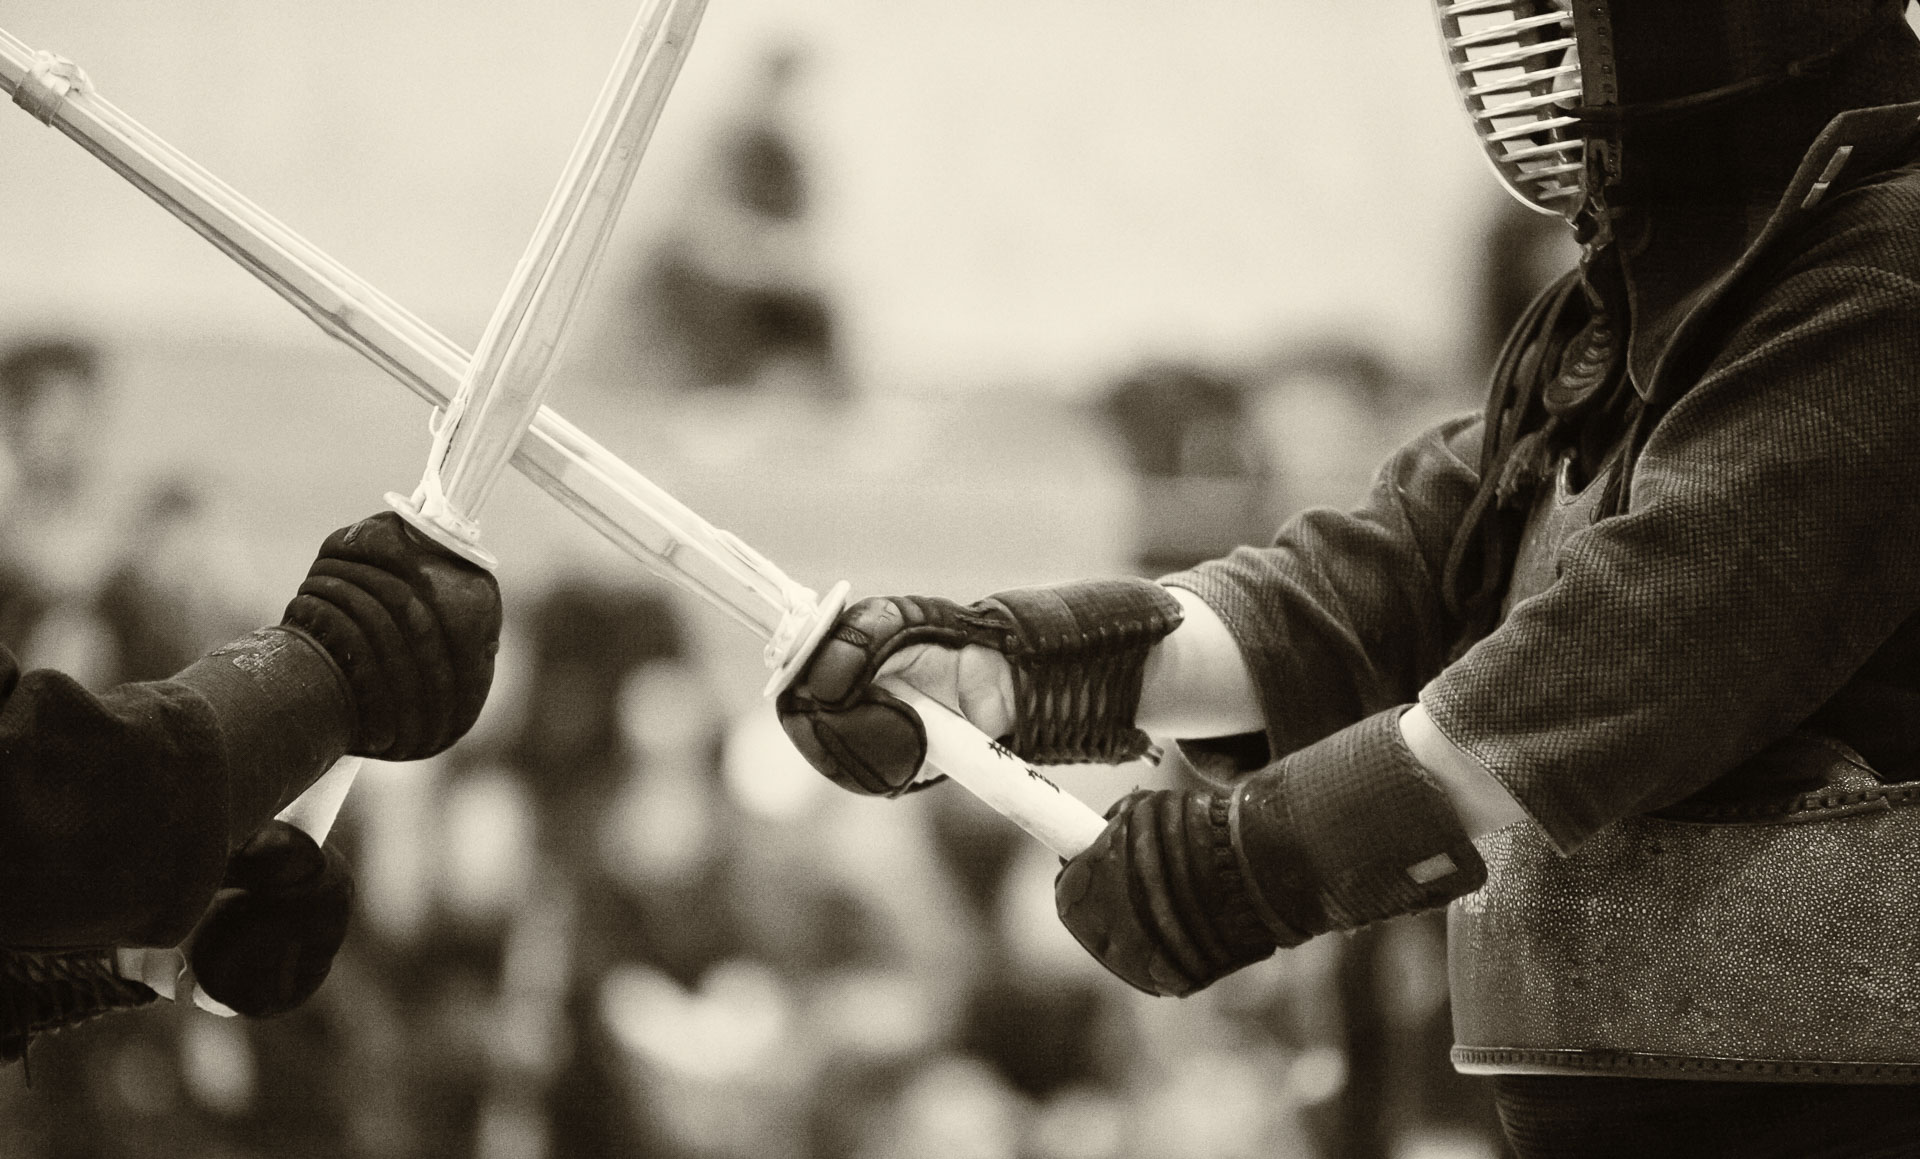
I have been practicing kendo for several years, and it has been a big part of my life. When I photograph it, I often have a conflicting view: as a photographer, I want to create an artistic expression of what I see – an image that would be appealing to any person, even someone who does not know much about kendo. As a kendoka, I want to document the technical aspects of the match (shiai) or practice (keiko).

AA5Q9424_02-08-2014.jpg

The latter, documentary approach is relatively straightforward as far as photography is concerned. The image needs to be technically acceptable (i.e. reasonably sharp and correctly exposed) and it needs to show both opponents. Ideally, the photo would also capture a critical point in a particular kendo technique (wasa), such a moment when one kendoka’s bamboo sword (shinai) connects with the target area of the opponent’s armour (bogu). There are other stages of a wasa that are equally important, but for some reason, as someone  who practices kendo, I am looking for the moment of the strike (datotsu) in a photograph. I also would like to see the distance between the opponents (ma-ai), positions of their feet and hands, and to have a sense of balance and timing in their technique.

The problem is that photographs like that, which are good reference material for kendo practice, are often not particularly artistic or even visually appealing. It is difficult to define what makes an exceptional image. Recently, I heard somewhere a formula for a great photo (by Robert Capa?), which, being an analytical person, I really like. Here it is:

A great photo must possess at least two of the following three components:

  • Motion
  • Emotion
  • Some other aspect being extraordinary (e.g. colour, lighting, pattern, composition, famous subject, etc.)

For kendo photos, the first aspect, motion, is relatively easy to achieve – after all, the action is very fast and explosive. Capturing emotion is a bit more difficult. Being a martial art (budo) and not a sport, there are no celebrations of victory after matches in kendo. During the matches, the face masks (men) obscure the facial expressions of the opponents. I try to convey the emotion of the opponents by zooming in close on their faces or by focussing on the emotion conveyed by their body language.

Generally, when shooting kendo, I find myself alternating between the “artistic photo” mode and the “technical kendo” mode.

More photos on Flickr: http://ow.ly/xvxoDComplete set: http://ow.ly/xvxro

In terms of gear, I use a professional DSLR (Canon EOS-1D X) with either an Canon EOS-1D X (good focal length for capturing both opponents and great in dimly-lit dojos, but difficult to focus, as I described in this post) or a 70-200mm f/2.8L IS II USM lens (great flexibility for both overview and close-up shots, but not very wide aperture = relatively noisy photos). Next time, I would like to try a 300mm f/2.8L IS USM lens. It won’t do much in terms of documenting kendo techniques, but could produce some dramatic close-ups.

Photographing rowing from a boat

http://ow.ly/DItik

Today, I was shooting the second day of the Canadian University Rowing Championship at the Elk Lake. Armando and I were the official photographers of the event, so we had a dedicated boat that took one of us close to the racing boats (the other was shooting from the dock). Together with me in the boat was another photographer named Kevin, who is a former rower himself, and not just any rower, but no less than a national team member and a gold medalist. He has been shooting rowing for a while and had a very specific idea about types of shots he wanted to get, but a bit concerned about falling out of our little catamaran. The previous day, I was sharing a boat with another photographer, a young lady from Netherlands, so I knew that the boat was perfectly capable of carrying two photographers. I was also happy to learn more ways of making a series of rowing photos less boring – after all, rowing motion is very repeatable, which does not give a lot of variety of poses (although facial expressions of the athletes vary quite a bit!).

http://ow.ly/DItik

Over the course of several races, we refined a strategy that allowed us to capture a variety of shots. As the race started, we would wait at the side of the course at the half-distance mark. As the boats rowed past us, followed by the boats carrying the officials, then, we would cross into the middle lane and follow the rowers. Kevin and I positioned ourselves on both sides of the boat driver, shooting, literally, over both his shoulders. We both had Canon EOS-1D X cameras. I used a 300mm f/2.8L IS USM lens with a 1.4X tele-extender and Kevin had a 600mm f/4L IS II USM. The key point, which took us couple of runs to figure out, was to drive the boat between  and just behind the two official’s boats, but in front of the point where their wakes intersected. This way, we avoided most severe wave vibrations. Another note is that men’s 8+ boats were fast enough to actually outrun our motorboat, which was kind of cool to watch.

As the rowers approached the finish line, we would ask the driver to kill the engine and drifted to take the shots of the athletes celebrating their victories. Then, we followed them to the dock and took some shots of the coaches greeting them after a cool-down lap.

Later, I shot some moments of celebration by the winners from the dock. Most notable was the throwing of the coxswain in the water by his grateful teammates.

It was long weekend, but an interesting experience of learning the dynamics of the rowing race and following it from the athlete’s perspective.

http://ow.ly/DItik

A day on the water

Head of the Gorge regatta. October 25, 2014.


Today has been a very wet day for me: shooting the Head of the Gorge rowing regatta from an umpire safety boat under rain, followed by a soccer match under even heavier rain (but from a relative comfort of a tent, which was set up just for me). My gear (Canon EOS-1D X, 5D Mark II cameras and the 70-200mm f/2.8L IS USM and 300mm f/2.8L IS USM lenses) stood up to the challenge beautifully.

I took about 4,500 images from the rowing race and about 1,000 images from the soccer match. Having just finished going through the rowing photos, I must say, the rowing action is not as exciting as soccer, because the motion of the rowers is very repeatable. To add some variety to the final selection of photos, I mix the action shots (both closeups of the facial expressions and wider shots of the entire crew) with portraits of the athletes and the coaches.

During the soccer game, I was confined to the location of the tent, while usually I like to move around the pitch to shoot different perspectives of the action. Fortunately, today’s extreme weather conditions added sufficient interest to the shots. Another plus of the cold, rainy weather was a free cup of hot chocolate, courtesy of UVic.

AA5Q0040_10-25-2014

Shooting field hockey: best lens and camera position

More photos here: http://ow.ly/CEMyg


I was taking photos of our university’s women’s field hockey game last two weekends, and as an experiment, I shot each of them with a different lens.

Shooting field hockey is challenging for couple of reasons. First, the field is relatively small and it is enclosed by a fence, so on one hand, the action can come very close to the camera very quickly, and on the other hand, it is difficult to isolate the players from the background if they are at the opposite end of the field from the camera.

The second challenge is that the players are crouched down while fighting to control the ball, so if the light is harsh, as the daytime sunlight often is, the players’ faces are covered by deep shadows.

Third, the colour of the artificial turf is bright green, which creates an unpleasant cast on the faces of the players, as they bend down, looking at the ball.

The first challenge of the wide range of distances from the action can be overcome by using an appropriate lens. I shot my first game of this season with a Canon EF 70-200mm f/2.8L IS USM. I has a good zoom range, which is great to have when the action is close, it focuses very fast and it is relatively light. I had the lens mounted on a Canon EOS-1D X and carried it on a Y-strap. It was so easy to handle that I was convinced that if I had a single lens to choose, the 70-200mm f/2.8L would be it. Its only drawback is insufficient focal length for far-away shots, such as action at the opposite end of the field and close-up shots of the players celebrating the goals.

More photos here: http://ow.ly/CEDsM


The next game, one week later, I shot with a Canon EF 300mm f/2.8L IS USM lens, and the success rate of interesting shots was much higher than I expected. In fact, I had to revise my opinion on what would be a single go-to lens for field hockey. The 300mm f/2.8L is at least a very close contender, if not the winner of that title, in my opinion. There are a couple of disadvantages of this lens: fixed focal length and weight. Both are manageable, though. The challenges in composing shots due to the absence of zoom can be overcome with practice. It took me about one season of shooting to become comfortable with the 300mm. I must add that I am deeply grateful to Armando, who gave me a free run of using his lens, for making this experience possible. The weight of the lens is also not prohibitive for using it hand-held. More importantly, I believe the interesting shots 300mm f/2.8L produces are worth the inconveniences.

To handle the lighting, I think the best angles with respect to the sun are either direct light, where the sun is behind the camera, or backlight, where the sun is behind the subject. The direct light is a bit flat, but produces bright, saturated colours of the players’ uniforms. The backlight produces low contrast and saturation, but creates very pleasant rim light effect on the hair of the players.

Note: The artificial turf is soaked with water before each game, so when its surface is struck with a stick, or even with players feet, a spare of small water droplets is produced. To capture it, a fast shutter speed (minimum of 1/1000 sec) works best. Also, the spray looks very nice when backlit.

Sport photography: noise reduction in post-processing

AA5Q1832_10-04-2014.jpg


Sports photography often requires very fast shutter speeds in order to freeze the action. In my experience, a minimum of 1/800 sec is required for basketball or soccer. My typical setting, which I save as a custom function in the camera is 1/1000 sec. Since lighting is often quite dim, particularly during indoor events or night games, fast shutter speeds require very high ISO settings, even with “fast” lenses (i.e. lenses that have large maximum aperture). As a result, the images become quite noisy, even when shot with state-of-the-art cameras, such as Canon EOS 5D Mark III or Canon EOS-1D X (in the Nikon world, there are counterparts such as Nikon D800 and Nikon D4S).

Noise becomes more noticeable when viewed at high magnification as random variations in brightness and colour between neighbouring pixels. These variations can be smoothed out in post-processing using fairly sophisticated algorithms implemented in various image-editing software. However, ultimately, this noise reduction causes loss of detail, which appears as lack of sharpness.

The good news is that in sports photography, relatively high levels of noise are considered acceptable. In fact, certain amount of noise adds character to the photo and conveys the sense of extreme effort exerted by the athletes.

Also, noise reduction is not nearly as destructive to the sharpness of the photo if the image is down-sampled (reduced in size) to be shown as a thumbnail on screen, for example. The counter-intuitive fact is that when the size (in pixels) of an image is reduced, the apparent sharpness is increased. This is because the small details that are lost due to noise reduction processing would not be visible anyway in the small image, so it appears both sharp and with low noise. The same is not true about the noise level, however. When the image size is reduced, the apparent noise is at best appears the same and often looks more pronounced than in the original, high-resolution photo.

Here are my typical strategy for noise reduction in Adobe Photoshop Lightroom, where I do most my post-processing. The Noise Reduction panel of the Develop module offers separate control of two main types of noise: Luminance and Color. Each of those has additional aspects, which can also be controlled separately (detail and contrast for Luminance and detail and smoothness for Color), but I almost never use them. I find the colour noise more unpleasant than the luminance noise, but it is also better controlled by the camera, so I rarely have to correct for it. I only work with Luminance slider for most of my photos.

  • If the noise level is relatively low, I find that Luminance settings between 0 and 10 (in some arbitrary units used by Lightroom – they are really just relative indicators of the amount of noise reduction applied) do not cause visible loss of sharpness.
  • If the noise is extreme, I set Luminance to around 30 and sometimes up to 50. Above that, the loss of detail is quite severe, and would be noticeable if the image is reduced in size.

More photos here: http://ow.ly/Ci0o7

Young athletes

IMG_0006.JPG

I was taking photos of Vikes children’s summer camps couple of weeks ago and noticed how wide is the range of athletic abilities of the kids of the same age. Boys and girls, who are about ten years old, are particularly different.

At the Boulder rock climbing gym at Stelly’s Crossroad, most of the boys noticeably struggled to climb much higher than about twice their own height. I must say, I clearly remember that I was the same at that age – any sort of climbing was not my strong suit. (Come to think of it, I might still be the same now…) However, some girls from the same age group literally walked up the climbing wall, all the way to the 50-foot-high ceiling. Clearly, girls have an advantage in terms of power-to-mass ratio!

IMG_0007.JPG

Interestingly, things were just the opposite in the soccer camp. With very few exceptions, little girls were quite unbalanced when striking the ball – from the kendo background, I could clearly see that their weight shifted to the back foot as they ran up to the ball and also during the defending drills (for the older girls). On the other hand, most of the boys could kick through the ball quite confidently, keeping their balance throughout the motion.

Correction (few days after): now after looking at the photos, I can say I was wrong about the soccer: boys and girls look about equal – most are quite clumsy. Image below is an exception – this little dude was amazing!

IMG_0013.JPG