On choosing a niche: travel and stock photography

PO-IMG_6486_06-16-13-Edit.jpg

As I mentioned in an earlier post on specialization, although some degree of focus is probably beneficial for photographers, actual selection of the niche can be difficult.

I believe the most important factors in selecting the area of specialization are

  1. What you enjoy doing/shooting.
  2. What you are good at.

Also relevant, but somewhat less important question is whether a lot of expensive equipment would be required (and whether you already have some of it).

Some business experts also suggest considering how competitive the prospective niche is and how well would it pay. I would argue that for someone, who is not looking to immediately make photography his/her main career by abandoning the current way of making a living, these considerations are a poor place to start. Personally, I would not want to trade the enjoyment of photography for potential financial returns, although I find the commercial aspects of photography (as any applied art, for that matter) fascinating.

I started doing travel and stock photography, because it allowed me to add focus to family vacations, and it had a potential for very passive income from repeat sales. Presently, I think that stock photography has two main drawbacks. From financial perspective, the income is very low, and a very large portfolio is needed before any money starts trickling in at all. Perhaps more importantly, from creative standpoint, my stock photos that have been most successful are rather cliché. Taking those kind of photos requires looking at the subject not through my own eyes, but rather through the eyes of a corporate client (which is an average of about all possible clients one can imagine). It can be a fun exercise, but it is not something I would do all the time.

Having said this, travel photography is still tremendously interesting to me. Fundamentally, what I like about it is probably what makes most people pick up a camera in the first place – ability to capture the moment and re-live it later while looking at the photo. Nowadays, when I take photos while travelling, I like to think about what aspects of the experience I want to capture and convey. More and more often, it involves people, whom I meet during the trips.

PO-IMG_6352_06-16-13-Edit.jpg

Importance of teaching

AA5Q6677_05-14-2014-Edit.jpg

I wrote before about involving people in photoshoots by asking them to model, assist or critique my work. It is especially beneficial to collaborate with other photographers, who are at different levels in terms of their technical skills, creative ability and career. This variety of levels enables one to learn and, just as important, to teach.

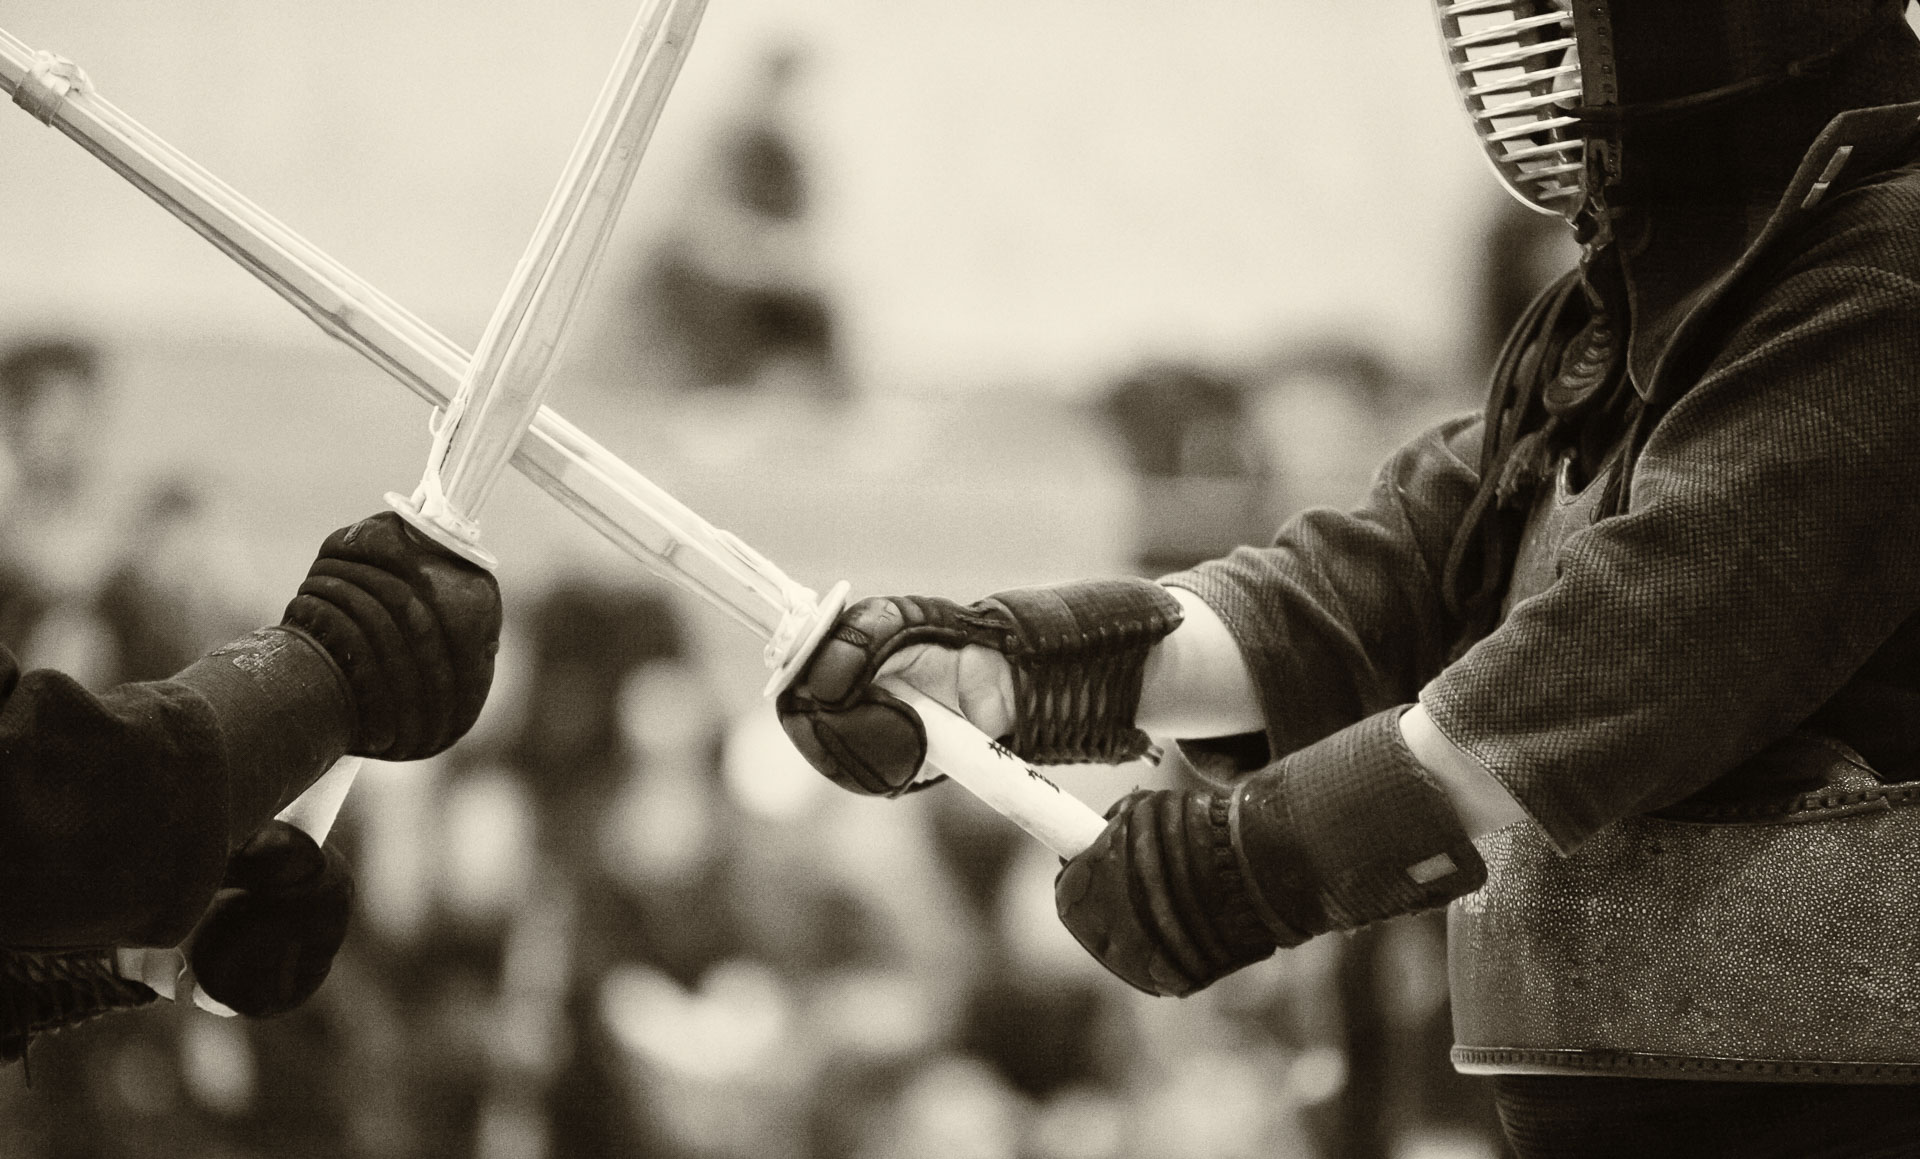
In kendo, the continuing development of the technical skill and the philosophical understanding of the way of the sword can be represented by the following diagram. I first learned about it in a kendo seminar, and since then have been using it in my main work as a university professor. I believe the principles apply equally well to photography and, probably, any other serious pursuit in life that involves development of a skill.

Learning diagram

  • Learning. This is the first stage of the skill development cycle (yes, ultimately it is a never-ending cycle – think about “life-long learning”, a concept that is a bit over-used in academe these days) –  acquisition of information. It can take a form of reading a book, being taught by a teacher or a senior colleague/student, etc.
  • Processing. In order to make use of the acquired information, we must internally process it, make it “our own”. Examples of this, from different fields, are working through homework assignments or research papers, practicing kendo techniques (waza) until they can be performed correctly and without thinking, practicing different lighting techniques in photography, etc.
  • Teaching. This is a less obvious stage, but it is critically important. In order to continue our own development and avoid stagnation at a certain level, we need to share what we learned with others. Teaching requires deep analysis of the subject and communication skills. In order to transmit our knowledge to others, we have to identify the the essence of it.

The arrow that connects “Teaching” and “Learning” in the diagram is very interesting. At some point in teaching, we begin to learn from our students. In a sense, they become our teachers, and the cycle continues. In kendo, this aspect is acknowledged in a very direct way, when both the sensei and the student bow to each other. In photography, I am always grateful when I have an opportunity to answer someone’s question or when someone teaches something to me.

PO-IMG_2102_09-08-13-Edit.jpg

In the dance studio

AA5Q5385_12-13-2014-Edit.jpg

Today, I took photos in a children’s dance school, not as part of a pro photo shoot, but being a spectator in a class. I did not use any flashes – just a 70-200mm f/2.8L IS lens on a Canon EOS-1D X body. I shot at f/2.8 and auto ISO, varying the shutter speed between 1/200 sec and 1/800 sec, depending on how fast the children (3-5 year old girls) moved.

It turned out that motion blur was not the problem (the girls were not vary fast at that age), but the flickering fluorescent light caused all sorts of weird colour casts. The light tubes were not only quite dim – they flickered between pinkish and greenish colours. To make matters worse, different light tubes in the studio flickered with different phase relative to each other, so in some of my images, part of the frame had pink cast and another part – green.

Normally, I would correct the colour in post-processing, aiming to create realistic skin tone. However, with colour gradients across the frame, often the only option was to convert the photo to black-and-white. Still, today’s shoot was the case where being spontaneous and unobtrusive mattered more than creating high-quality lighting conditions.

AA5Q4839_12-13-2014-Edit.jpg

Photographing fire

AA5Q2876_10-10-2014.jpg

One of my current research projects is related to hydrogen infrastructure safety. We study how hydrogen flames behave and how large they become if the gas leaks from a storage tank or a pipeline.

Recently, our industrial partners tried to photograph a hydrogen flame and found that it was not easy to capture the details of the flame because the fuel (hydrogen, in this case) burned very cleanly, so there were not many particles in the flame to “mark” it. This challenge is not unique to the scientific experiments, but is common in conventional photography when fire is involved. So here are some notes on photographing flames.

5DM2_MG_6744_05-09-10-Edit.jpg

Including fire in a photo can add dramatic impact, because we, as humans, have a deep emotional connection to it. I wrote before about shooting portraits by a bonfire, but when the fire itself is the subject, different considerations and camera settings apply.

How easy it is to see (and therefore, photograph) the flame depends on the fuel. Generally, for artistic photography, we prefer fuels that do not burn cleanly, but instead “volatize” tiny unburnt particles into the flame, which serve as flow tracers and give the flame its color. Precise color of the flame depends on many factors involving fuel-air mixing, but generally, burning wood, paper or natural textiles give a warm, yellow-orange flame color, while gas- and alcohol-based fuels burn with bluish color. As I mentioned earlier, hydrogen flames are nearly invisible (fortunately, they are not common enough to be a popular subject).

Wood fire is quite easy to photograph, because it emits a lot of smoke and unburnt particles. To capture the details of the flame, a dark, uniform background and a fast shutter speed (shorter than 1/250 sec) work best.

Sometimes, it is best to focus on the traces of sparks (e.g. in fireworks), in which case, I usually take long exposures (2 – 10 sec) in bulb (B) mode.

Smoke is an interesting subject too. It usually requires an additional light source to capture the details of a smoke plume.

When fire is an important part of the photo, but there are other elements in the frame, the main challenge is the high dynamic range in the scene that may be beyond what the camera’s sensor can capture. In this case, I expose for the fire, which is usually the brightest element, and add more light to the other subjects using flashes or in post-processing.

AA5Q3134_10-31-2014.jpg

To niche or not to niche: on specializing in photography

AA5Q8878_11-02-2014.jpg

Most photographers start out as “generalists”, i.e. taking pictures of a wide range of subjects. I think there is nothing wrong with it, in principle, but most experts agree that from a business standpoint, it is good to choose niche and specialize in it. Actually, this is true for any business, not just photography.

Finding a niche is important because there is only so much time in a single lifetime, and developing the skills specific to a certain genre is a long process. In fact, one can argue that development of a skill is an endless journey. Unfortunately, skills and expertise often do not cross over between different niches. For example, the techniques, the equipment and the entire approach that are required for macro photography are completely different from those used in sports or fashion niches.

There is also a question of marketing. It is easier to promote a portfolio if it is focussed on a single topic.

Having said this, I personally find that focussing on a single niche to the exclusion of all other types of photography would be a sure way to kill the enthusiasm that made me pick up the camera to begin with. Thinking more philosophically, perhaps there is a certain contradiction between “focus” and “balance” in a general sense. If you intensely focus only on one aspect of your life, other areas inevitably suffer.

AA5Q9424_02-08-2014-Edit.jpg

In kendo, which I believe is a metaphor for everything else in life, there is a concept of tokui waza – a special, favourite technique, which has the highest probability of success. Tokui waza is specific to a particular kendoka, who strive to identify what their best technique is and then focus their practice on polishing this special skill. However, this specialization cannot be done at the expense of other techniques. Otherwise, the range of available skills/techniques would become so narrow, that an experienced opponent would be able to exploit it as a weakness.

I think the answer is in the degree of focussing. Ideally, I would like to specialize in a given area just enough, so that the result would be legitimate expertise without unwanted side effects. Paraphrasing the term popularized by Tim Ferriss, it is the minimum effective dose (MED) of focussing – the smallest amount of focus that would produce the desired outcome, beyond which, focussing is ineffective or even harmful.

If we agree that specializing, to some extent, is beneficial, choosing a niche in photography is not trivial (as I mentioned, most of us start as generalists), so I will leave this subject until another post.

5DM2_MG_5491_10-28-12-Edit.jpg

Making holiday greeting cards

AA5Q3212_10-11-2014.jpg

I have been considering various options for sending greeting to family and friends for the Christmas and New Year. In the past, we ordered paper cards customized with our own photos using iPhoto on a Mac. The quality was excellent for the price. Also, I like to believe that there is something special about a handwritten card that arrives in the mail. Unfortunately, I am almost always late with ordering the cards and then sending them out. This, combined with uncertain snail mail delivery times for some overseas destinations, often caused us to miss the actual holidays, which somewhat defeats the purpose of the holiday cards.

This year, I am considering a fully electronic alternative to traditional, handwritten paper cards, but I still want to convey the personal attention and avoid a cookie-cutter look.

Broadly, there are three options:

  • Printed cards. There are several online printing companies that would accept a custom-designed card, print it and ship directly to the address specified by you. One example is Holiday Cards by Sincerely Ink. For me, the drawback of this option that the greeting would not be written by hand and thus would lack the personal feel.
  • E-cards. There are many options for creating custom e-cards either on an iPad/iPhone or on a Mac (naturally, there are counterparts for Android and Windows machines). I have tried the eCard Express, and was a bit disappointed by the lack of customizable fonts and very few templates that accept your own photos.
  • Fancy emails. This seems to be the most promising option. In OS X, the built-in email client, Mail, has an option of using custom stationery (accessed by pressing the button at the top right of the message window.) Several companies offer stationary sets that include greeting cards. For example, Equinux has stationary sets that cost between $8 and $15, which is substantially cheaper than printing and sending traditional paper cards. Finally, this page gives a comparison of greeting card software for Mac, with Hallmark Card Studio for Mac being the top pick.

Upon considering these options, I am leaning towards creating the card from scratch in Photoshop and sending it as an email attachment. I can use my own photo and draw the graphics elements, such as snowflakes, etc., using a Wacom graphics tablet. I can also incorporate handwritten text into the design, which I think would be a good compromise between a traditional card and an e-card. While my digital card would not be one-of-a-kind, it would still be “handmade” as much as a digital image can be.

AA5Q1271_11-20-2014-Edit.jpg

Photographing water droplets: setup plan

PO-IMG_1460_12-07-13.jpg

I am planning a research project that will focus on close-up photography of liquid drops and splashes. So far, I have no photos of my own to illustrate this post, but here is the equipment list for the setup that will be developed in the Fluids Lab:

  • Camera. I will use a Canon 5D Mark II or 5D Mark III, since it has higher resolution than a Canon EOS-1D X. The higher framing rate of the 1D X offer no advantage in this case, since the motion will be frozen by the flashes.
  • Lens. I will start with a Canon EF 100mm f/2.8 Macro USM Lens, but a Canon EF 180mm f3.5L Macro might be a better option for shooting from greater distance.
  • Shallow water tank (tray). I plan to ask the students to build a shallow water tank that would be quite long, so we could shoot along its length and avoid getting the front and back edges into the frame.
  • Studio flashes. Three Paul C. Buff’s “Einstein” lights will be triggered by dedicated radio triggers. Two of them will be positioned on the sides of the tank, and the third one will be placed behind a semi-transparent background.
  • Intervalometer. I will use a trigger for the camera and the valves that will release the drops. There are several options, including a Time Machine/Drip kit.

I am looking forward to this project (should it be called a still life, even though the droplets would be in motion?) and hope to post the updates with our first droplet images soon.

PO-IMG_2011_12-07-13.jpg

At the theatre

AA5Q4722_12-07-2014-Edit.jpg

Last Sunday, we took our three-years-old daughter to see her first ballet performance – the Nutcracker. She is really into ballet (to my continuing surprise), and she was looking forward to the show for the last week. I thought that the expectation might be too high, but she really enjoyed the whole theatre-going experience and the show itself, even though she was a bit disappointed that Cinderella was not it it.

I wanted to take a few shots of my daughter at the theatre for our family albums (in a virtual sense – perhaps, actual paper albums would not even exist when she grows up). I knew that an iPhone would not do it, as it is quite dark in the theatre. Fortunately, since we have a young child, we always carry a shoulder bag with some snacks, change of clothes, etc., so I put my Canon EOS-1D X with a 35mm f/1.4L USM lens in it too. I wrote earlier that this is a great camera-lens combination for low-light photography. The 35 mm focal length was also sufficiently wide for taking photos from a very close distance, such as sitting right next to a person.

Having seats next to an aisle was very convenient, as I could back away into the aisle to take a wider shot without disturbing others. Naturally, we only took photos before the performance and during the intermission, as we walked through the hallways, but that was all we really wanted.

The colour of the lighting in the theatre was not flattering for portraits, to say the least. In some shots, the shadows ended up with a purple cast, while the highlights were green – nearly impossible to get a realistic skin tone. In this case, I converted the photos to black and white, which also helped with the noise.

AA5Q4606_12-07-2014.jpg

Family portraits: best lens for shooting in natural light

AA5Q3404_11-29-2014.jpg

When my daughter decided to help baking pancakes on a Saturday morning, I could not resist taking a few snapshots of the process. Something in the very fact of her wanting to help to the best of her ability as a three-year-old (even if it actually creates more work at this age) resonates deeply with me, and I always want to capture the moment and the feeling.

I happened to have a borrowed Canon EF 85mm f1.2L II USM lens that day, so I used it to shoot the portraits of my daughter and wife in our kitchen using natural light from a skylight located directly above them. I shot wide open, at f/1.2, which gives such a shallow depth of field, that the typical kitchen clutter in the background is not very distracting. The wide aperture also lets in a lot of light, which allows the ISO (and therefore, noise) remain relatively low.

The inherent challenge of shooting at f/1.2 is getting acceptable sharpness for both people in the shot. The depth of field is so shallow that if I focus on the closest eye of one person, for example, even other parts of the face of the same person are out of focus, not to mention the other subject(s). As my daughter was busy stirring the batter, I asked my wife to try to move as closely as possible to her and then positioned the camera so that both their faces would be approximately the same distance from it.

Despite being tricky to work with, I think the 85mm f1.2L is the best lens for natural light portraits. It is a bit difficult to define what makes this lens so remarkable, but I think it is the combination of sharpness, bokeh and low noise that makes the images taken with it stand out.

AA5Q3452_11-29-2014.jpg

Photo sizes for the web

AA5Q4179_02-22-2014.jpg

I use different settings for Facebook, 500px, Flickr and my website when I export photos from Lightroom.

Facebook resizes photos, unless they are already of one of the pre-defines sizes:

Regular photos 720 px, 960 px, 2048 px
Cover photos 851 px by 315 px

I usually export photos for Facebook  and my own website at 1000 pixels along the long side and use standard screen sharpening. I don’t worry about resizing. Here is a sports photo page that Armando and I use to send updates on our photo shoots, and the photos there are saved with these settings: APshutter.com.

For Flickr and 500px, I upload full resolution photos, which serves as an additional backup. I find that both sites do good job in terms of resizing and displaying the photos.

PO-IMG_5439_01-10-14.jpg