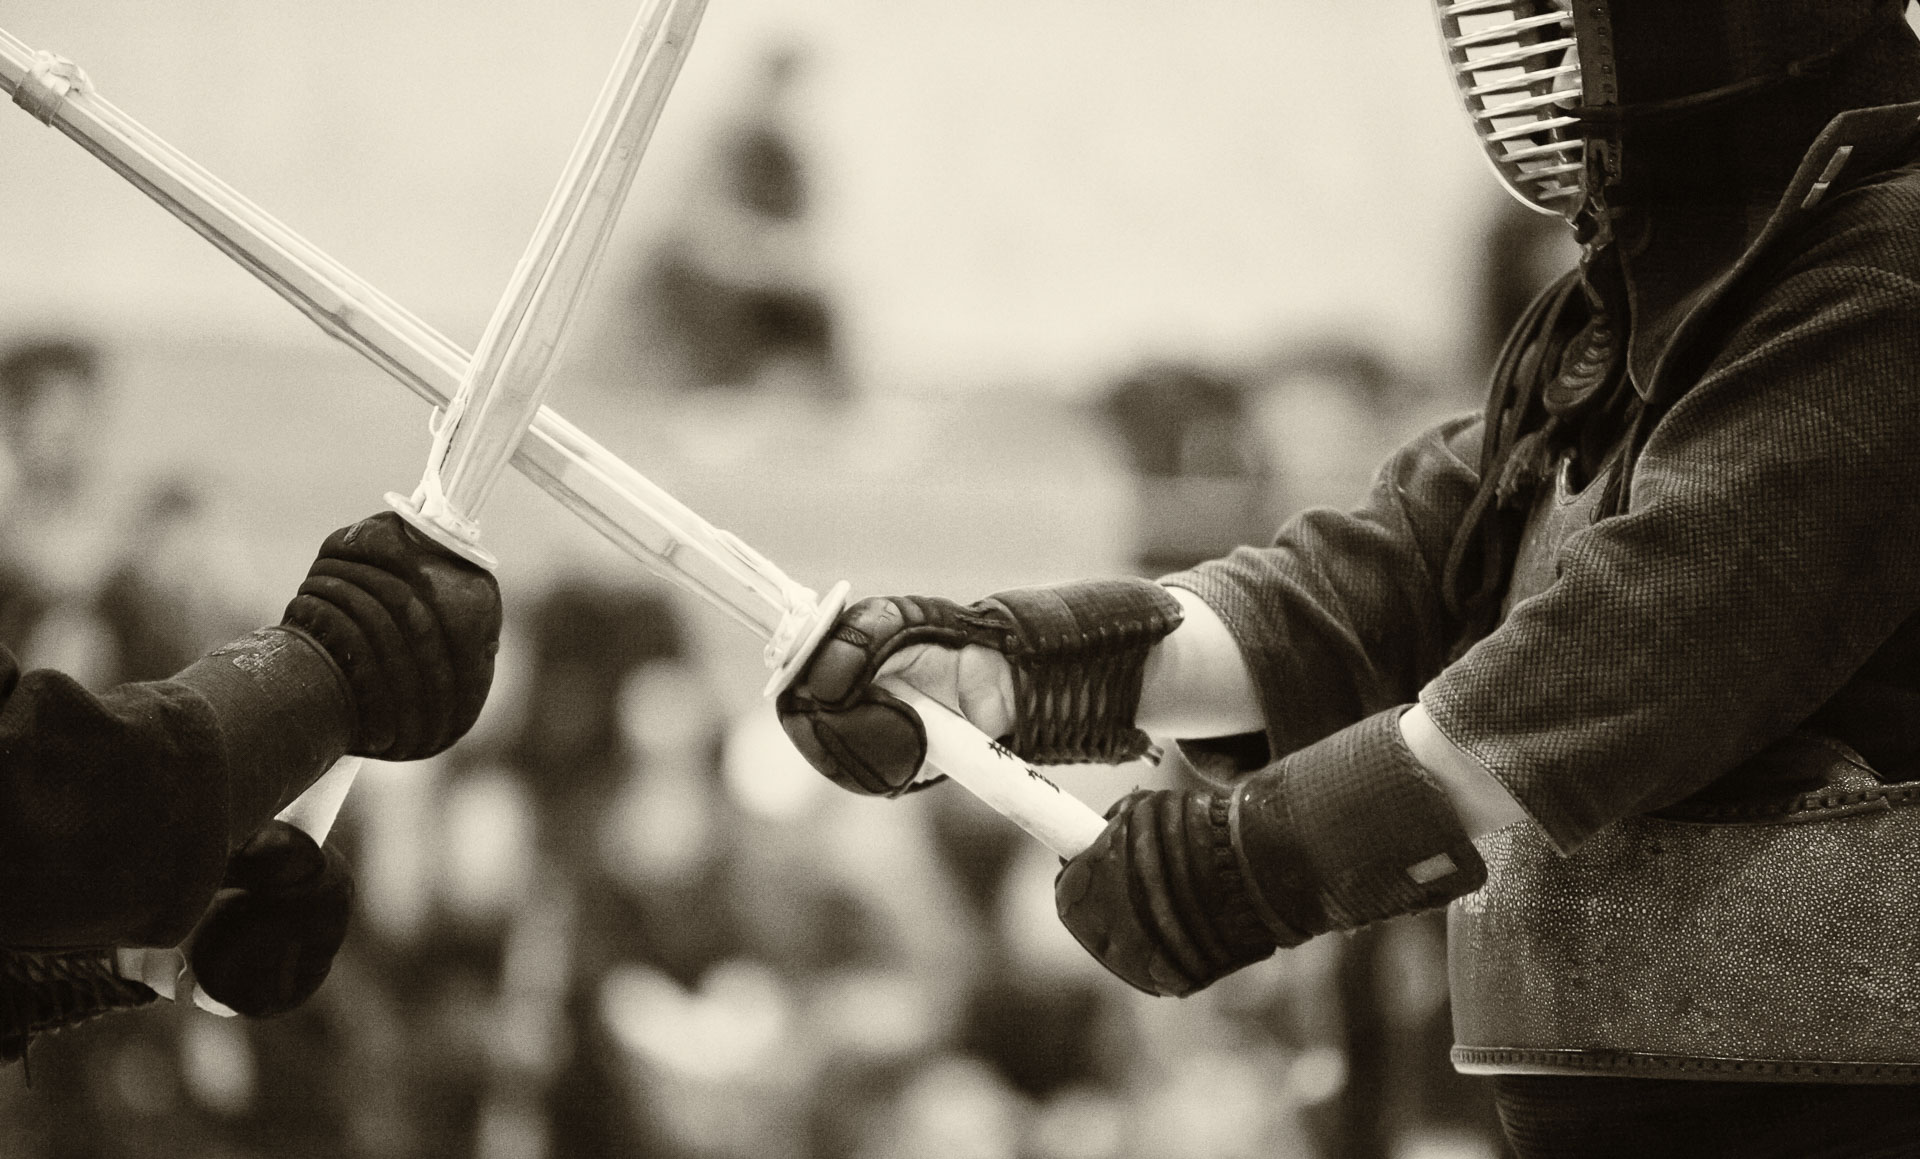
When photographing fast action, such as sports or dance, I usually concentrate on two technical aspects – capturing the expression of the motion and isolating the subject from the surroundings.
To show motion in a still photo, I typically try to freeze it, i.e. to shoot with sufficiently fast shutter speed, so that the athletes appear sharp, but their poses and facial expressions convey movement and emotion.
An alternative to freezing the motion is to blur it, with a slow shutter speed, so that the moving subject is smudged, while the surroundings are sharp. Blurring the motion is particularly effective when combined with a flash that illuminates the subject just before the camera shutter closes, freezing that phase of the movement (so called back-curtain sync).
Yet another approach is panning, when the camera follows the moving subject, and the image is taken with a shutter speed that is short enough to freeze the motion, but long enough to blur the background. This technique requires a lot of practice, and the success rate is typically very low. Also, it can only be applied in situations when the subject is moving more or less parallel to the sensor of the camera. If the subject is moving towards or away from the camera, it cannot be followed by swinging the lens around.
To isolate the subject from the background, I shoot with a fast lens, such as Canon EF 300mm f/2.8L IS USM or Canon EF 35mm f/1.4L USM
, wide open, so the background is blurred because of the shallow depth of field.

To freeze the motion and blur the background, I need to control both the shutter speed and the aperture at the same time. Before upgrading my camera to Canon EOS-1D X, I used to shoot sports in aperture priority mode. I would select the maximum aperture (lowest f-number) and a sufficiently high ISO value, so that the camera would choose a fast shutter speed. Occasionally, the shutter speed would drop too low, and the image would end up blurry.
With a 1D X, I shoot in manual mode, where I set both the aperture and the shutter speed. I let the camera select the ISO by setting it to “A” (auto). This way, the only aspect that is left up to the camera is the amount of noise in the photo. I find that even if ISO ends up being very high (the selectable range can be specified in the camera settings – see page 13 of the 1Dx manual), the 1D X
controls the noise very well. Besides, the noise can be controlled in post-processing to some degree.
