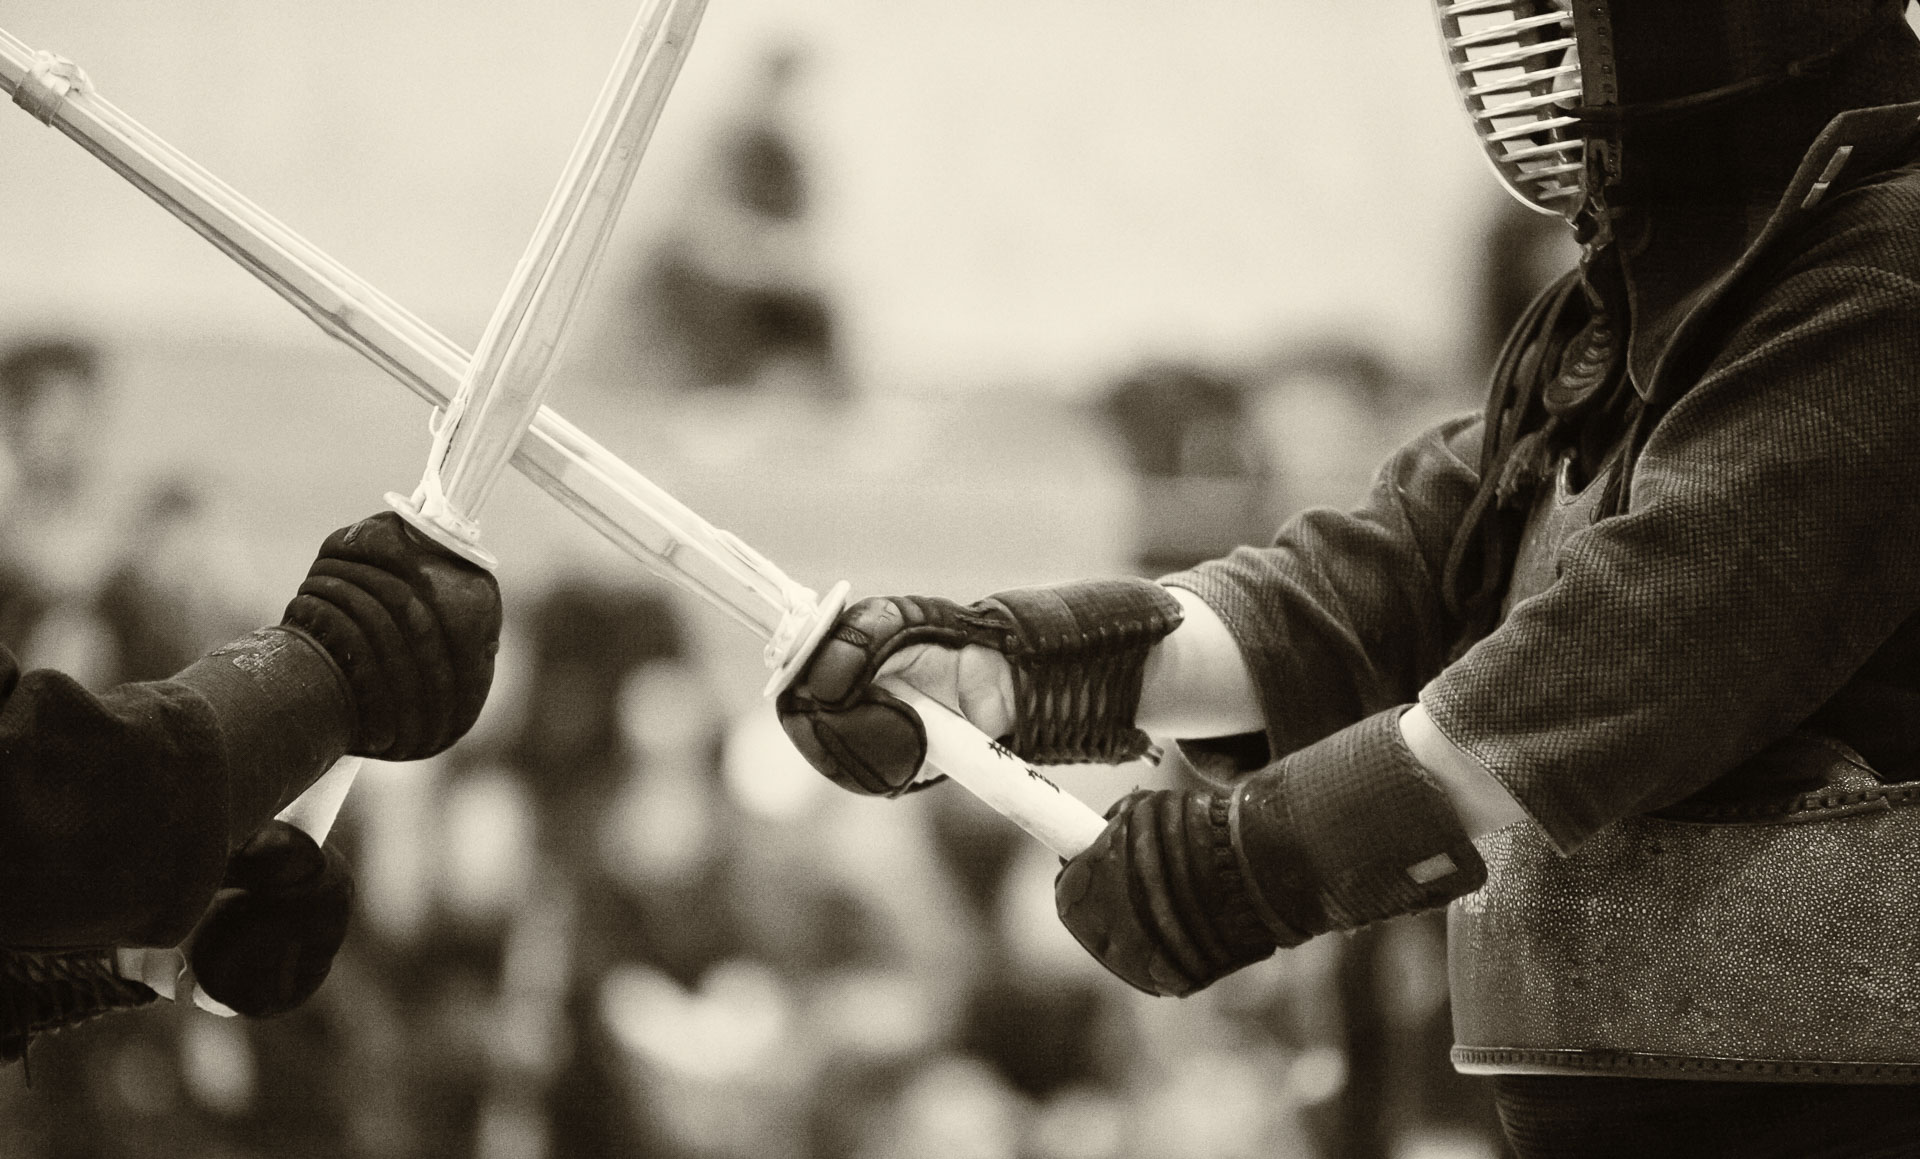
I wrote in another post about reducing noise in low-light photos, but sometimes the amount of the recorded light is just too low to yield adequate results. Suppressing the noise in those situations would lead to the loss of details that would not be acceptable. I particularly dislike colour noise – random occurrence of alternating red, green and blue pixels in close proximity to each other.
Sometimes, a very noisy image can be salvaged by converting it to black-and-white. The reason why the resulting monochromatic image looks better than the original is that the colour noise now appears as luminance noise. In other words, there is no longer a visible variation in the colour of the neighbouring pixels – just in their brightness.
Another important advantage of black-and-white conversion for low-light photos is that a monochromatic image would actually show more detail than the colour one. This is because all three RGB channels (red, green and blue) are now contributing information about the contrast and brightness gradients that can be perceived visually. In an extremely low-lit scene, such information is very limited, and any single colour channel might not carry sufficient amounts of it to be processed by human brain. Incidentally, this is why we see night scenes mostly in black-and-white. Any colours that we do perceive at night are either very desaturated or actually produced by our brains based on our prior experiences of adequately-lit objects.
Finally, noise in black-and-white images is more acceptable than in colour ones, because digital noise looks like physical grain in black-and-white film emulsion, which is associated with fine art images. In fact, there are many plug-ins for Adobe Photoshop, for example, that simulate various film grains.

How to convert a photo to black-and-white
There are many ways of doing the actual conversion, but perhaps the most important this to remember is that it is more than simply desaturating the colour.
Using a channel mixer (go to Image > Adjustments > Channel Mixer and click the “Monochrome” box at the bottom of the menu) provides great control, but is a bit difficult to master due to a large number of possible adjustments.
Personally, I use a packaged solution – a Nick Collection module called Silver Efex Pro. I usually start with one of the provided presets and adst some parameters slightly, while watching the preview. My favourite presents are “High structure,” “Full dynamic range” and “Film noir.” I rarely use the image in the form it comes out of the preset, because the adjustments do not work equally well for all elements of the photo. I either modify the effect using control points within the Silver Efex, or make several layers in Photoshop
, each containing a different effect, and then masking portions of each layer as appropriate. This, by the way, is a general rule for avoiding a cookie-cutter, Instagram-filter-like effect – a post processing effect needs to be applied to parts of the photo selectively.

